
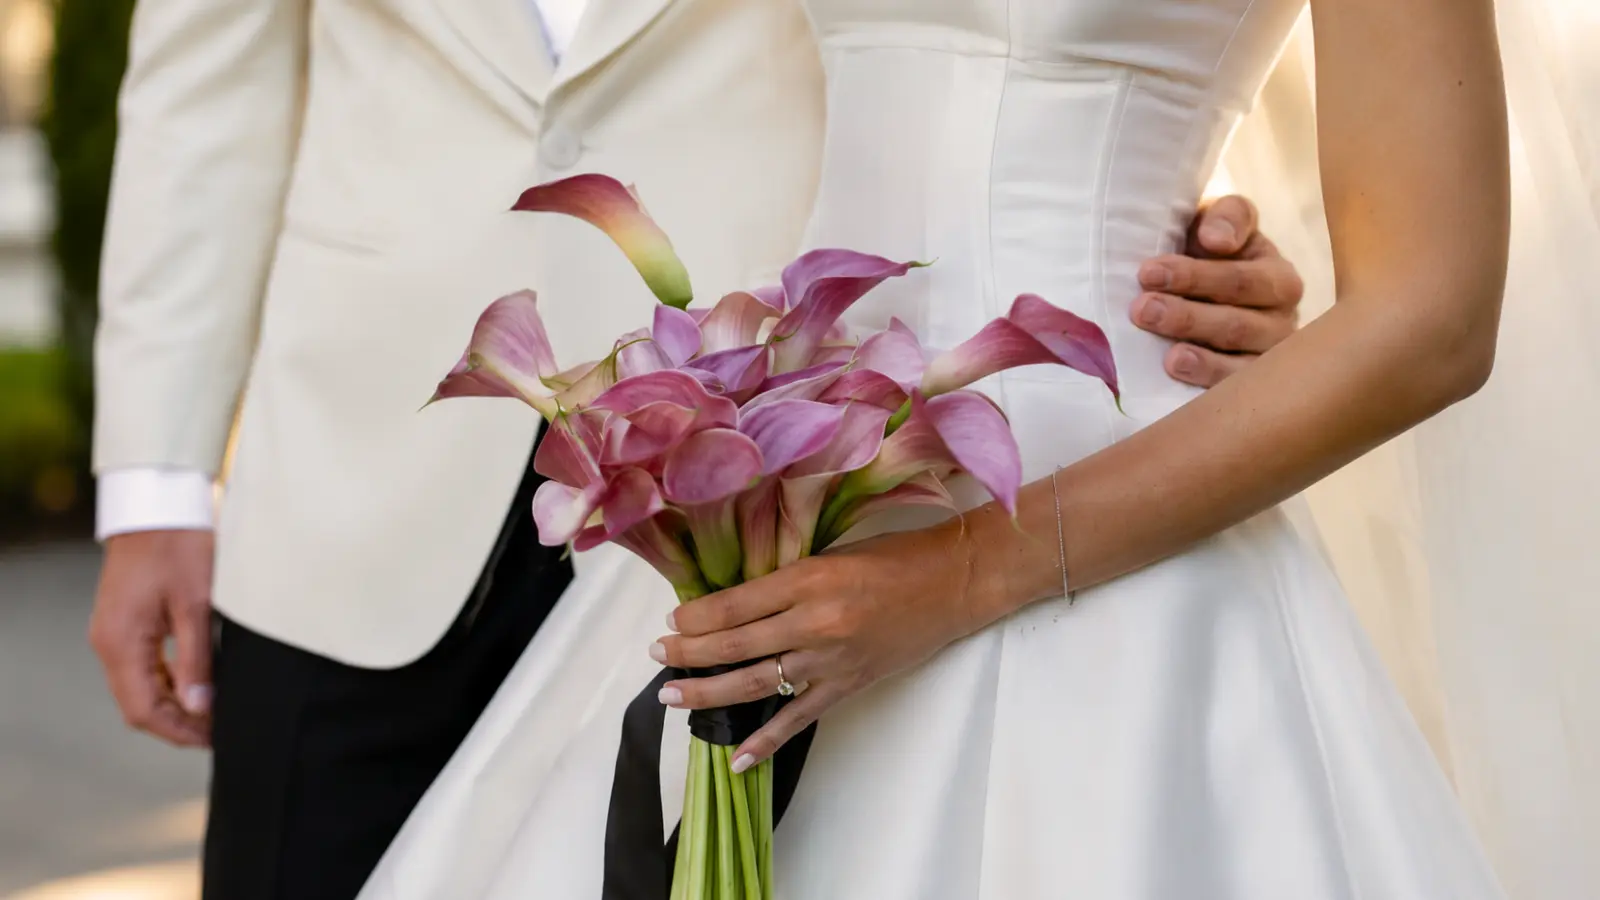
How to make a wedding bouquet is easier than many brides expect. A beautiful hand-tied bouquet doesn’t require professional floral training or expensive equipment—just the right flowers, a simple technique, and enough preparation to assemble everything with confidence before the wedding day.
Whether you’re creating a bouquet to save money, add a personal touch, or enjoy a DIY wedding project, the process is much more approachable than it seems. With the right wedding bouquet flowers, flower selection, and a little practice, you can create a bouquet that looks elegant, photographs beautifully, and reflects your wedding style.
This guide explains how to make a wedding bouquet with fresh or artificial flowers, including the supplies you’ll need, how many stems to buy, step-by-step assembly instructions, wrapping techniques, and practical tips for keeping your bouquet fresh until the ceremony.
What Do You Need to Make a Wedding Bouquet?
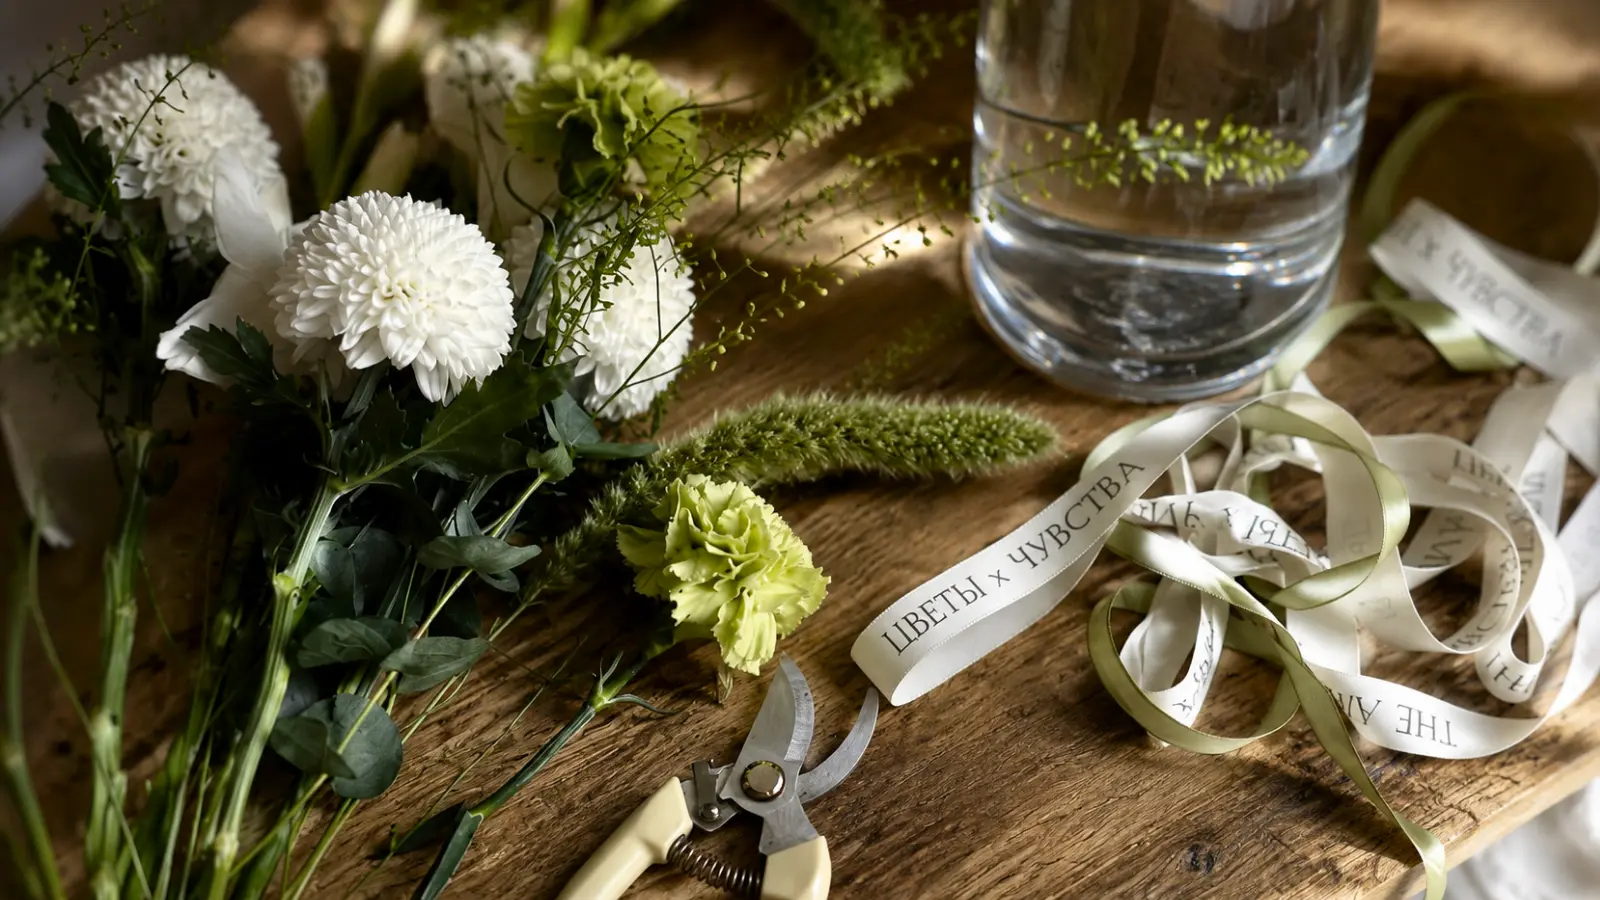
The supply list for a DIY wedding bouquet is short, and most of it is available at any craft or floral supply store. What matters is having everything ready before you start — stopping mid-assembly to find scissors or floral tape is more disruptive than it sounds when stems are in your hands.
For fresh wedding bouquets, you will need:
- Flowers and greenery — your focal blooms, secondary flowers, and any filler or foliage
- Sharp floral scissors or stem cutters — dull scissors crush stems and reduce water uptake; clean cuts matter
- Floral tape — the self-adhesive kind used to secure stems before wrapping
- Ribbon or fabric for the handle — satin, velvet, and silk all work well; plan for at least one yard
- Floral pins or pearl pins — to secure the ribbon at the base of the handle
- A large bucket or vase — for conditioning the flowers before assembly and storing the finished bouquet
- Floral preservative — those small packets from the grocery store florist are fine; they extend the life of cut stems
- Rubber bands — useful during assembly to hold the bunch temporarily before taping
For artificial wedding bouquets, the process is simpler — no bucket, no preservative, no timing pressure. You will still need sharp scissors or wire cutters (silk stems often have internal wire), floral tape, and your wrapping materials. The main addition is floral wire, which is helpful for adjusting stem lengths and securing the bunch before wrapping. Floral adhesive is optional, but it can be useful for reattaching loose petals or securing delicate floral details during final adjustments.
Best Flowers for DIY Wedding Bouquets
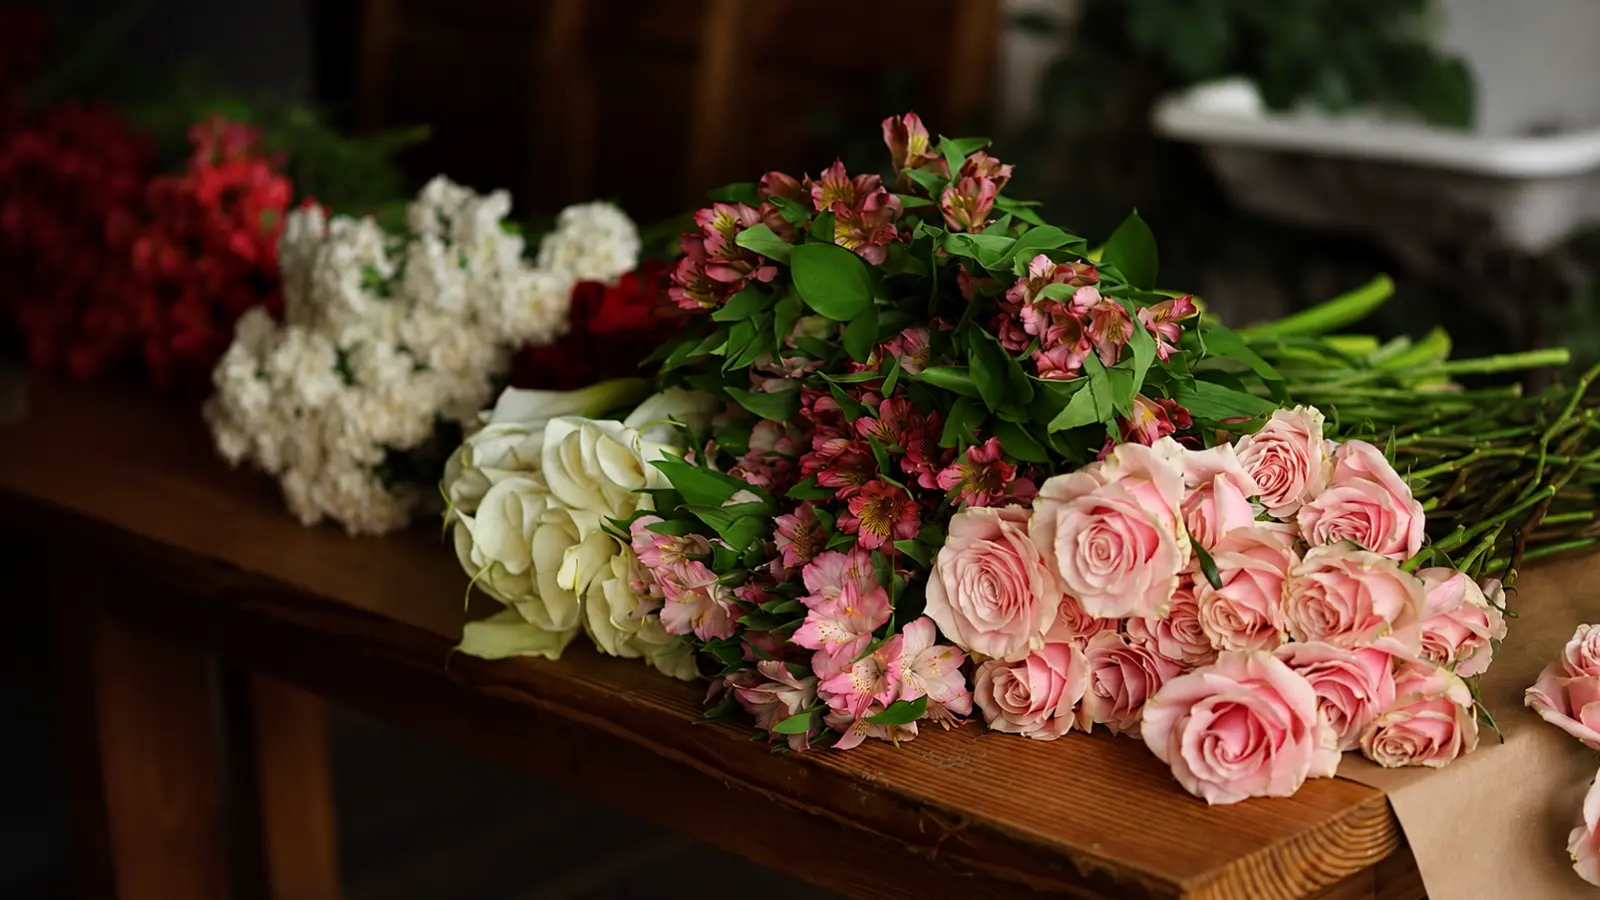
Not every flower that looks beautiful in a shop is easy to work with at home. The best DIY flowers share a few practical qualities: they are sturdy enough to handle without bruising, they hold their shape outside of water for a reasonable amount of time, and they are easy to find at grocery store florists, warehouse stores, or wholesale flower suppliers — without a professional account.
Roses are the most reliable DIY choice across the board. Spray roses (the smaller, multi-bloom stems) are particularly useful for adding volume without increasing cost significantly. Garden roses are beautiful but more delicate — handle them as little as possible during assembly.
Ranunculus are one of the better-kept secrets for DIY bouquets. They layer beautifully, come in a wide range of colors, and hold their shape well for hours outside water. If peonies are on your list but the budget or season does not cooperate, ranunculus is often the closest practical alternative.
Lisianthus mimics the layered look of peonies and garden roses at a more accessible price point and with better durability. It is one of the most underused DIY flowers for exactly this reason.
Baby’s breath, statice, and wax flower are valuable for fill. They are inexpensive, hardy, and they add the kind of delicate texture that makes a bouquet look professionally layered without requiring additional skill.
Eucalyptus and greenery are almost mandatory if you’re creating greenery wedding bouquets or adding natural texture to a mixed bouquet. Silver dollar eucalyptus and seeded eucalyptus are widely available and hold up well. Italian ruscus and leather leaf fern add structure without being fussy.
Flowers to use with more care — not to avoid, but to handle gently and add last — include peonies (they bruise easily and droop in heat), hydrangeas (moisture-heavy and more demanding to keep fresh), and sweet peas (delicate and short-lived outside of water). They can work in a DIY bouquet with the right conditions, but they are not the place to start if this is your first attempt.
How Many Flowers Do You Need for a Wedding Bouquet?
Flower counts vary by size, bridal bouquet styles, and the specific blooms you are using — a stem of baby’s breath contributes differently than a single garden rose. But a reasonable working estimate keeps the shopping and assembly process manageable.
| Bouquet Size | Focal Flowers | Secondary Blooms | Greenery / Filler | Total Stems (approx.) |
|---|---|---|---|---|
| Small nosegay | 5–8 | 4–6 | 4–6 | 12–18 |
| Medium round | 10–15 | 8–12 | 6–10 | 22–35 |
| Large garden round | 15–20 | 12–16 | 10–14 | 35–50 |
These are working estimates, not exact formulas — the actual count depends heavily on the size of each flower. A single large dahlia takes up more visual space than three ranunculus; one full stem of eucalyptus may replace two smaller greenery stems. When in doubt, buy more than you think you need. The extra 20 to 30 percent rule exists because some stems will be damaged, too short, or simply not as usable as they looked at the market. Running short during assembly on the morning of your wedding is avoidable with one extra bundle purchased the day before.
How to Make a Hand-Tied Wedding Bouquet
The hand-tied bouquet is the standard DIY approach — and the most forgiving one. The technique relies on a spiral stem pattern, which keeps the bouquet tight and balanced as you build it and makes the final bundle easy to secure. Once you understand the spiral grip, the rest is mostly about sequencing: large blooms first, then secondary flowers and greenery to fill and frame.
Step 1: Condition your flowers. Two to three days before the wedding, buy your flowers and condition them. Strip any leaves that would sit below the water line, recut stems at a 45-degree angle, and place them in clean water with floral preservative in a cool, shaded space. Conditioning allows stems to fully hydrate, which extends their life significantly and makes them easier to work with during assembly.
Step 2: Prepare your stems the morning of assembly. Strip all leaves from the lower two-thirds of each stem — any foliage in the handle area will bulk up the bunch and make wrapping harder. Keep leaves only where they will be visible in the finished bouquet. Lay your flowers out by type so you can reach for them without searching during assembly.
Step 3: Start with your focal flower. Hold one stem loosely in your non-dominant hand, angled at roughly 45 degrees. This is the starting point for your spiral. Every stem you add will cross slightly in the same direction over this one, building a natural spiral pattern through the handle.
Step 4: Add stems one at a time, rotating the bunch. After placing each stem, rotate the entire bunch slightly in your hand — this is what creates the spiral. Add your focal flowers first, distributing them evenly throughout the bouquet rather than clustering them in one area. Then add your secondary blooms and greenery to fill, frame, and add texture. Step back frequently to assess the shape from the front. A round bouquet should look full and balanced from every angle, not just the one you are looking at while building.
Step 5: Secure and check. When the bouquet has reached the shape and size you want, hold it firmly and wrap a rubber band around the stems just below the bloom area — this holds everything in place while you make final adjustments. Assess the front, sides, and angle it would be held at during the ceremony. Add or swap out any stems that are not sitting correctly, then secure with floral tape once you are satisfied.
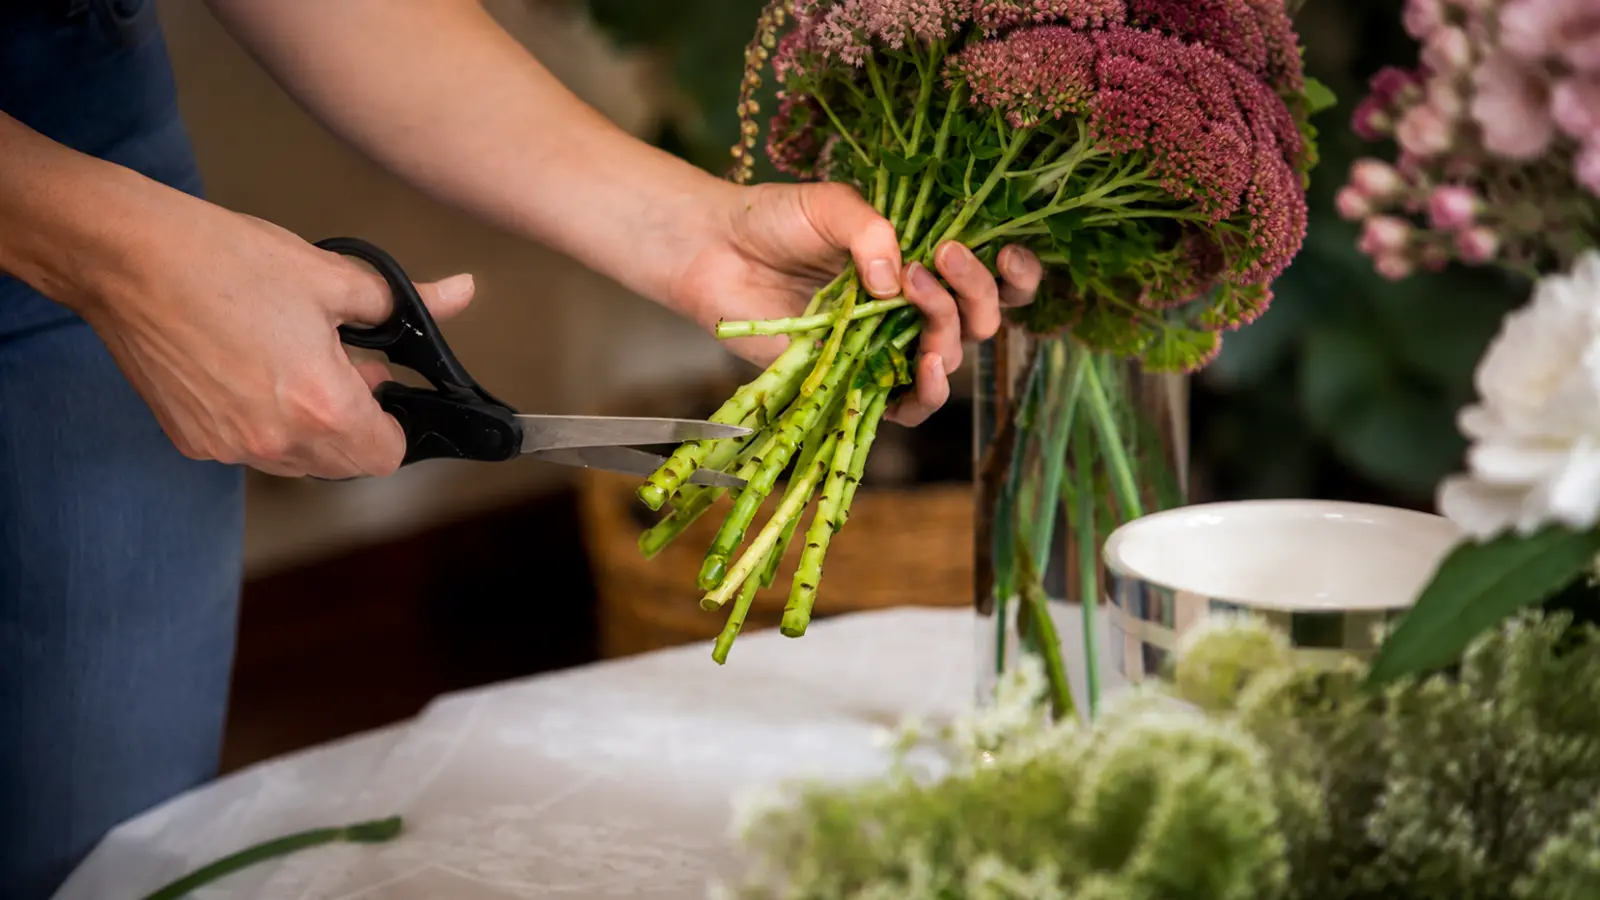
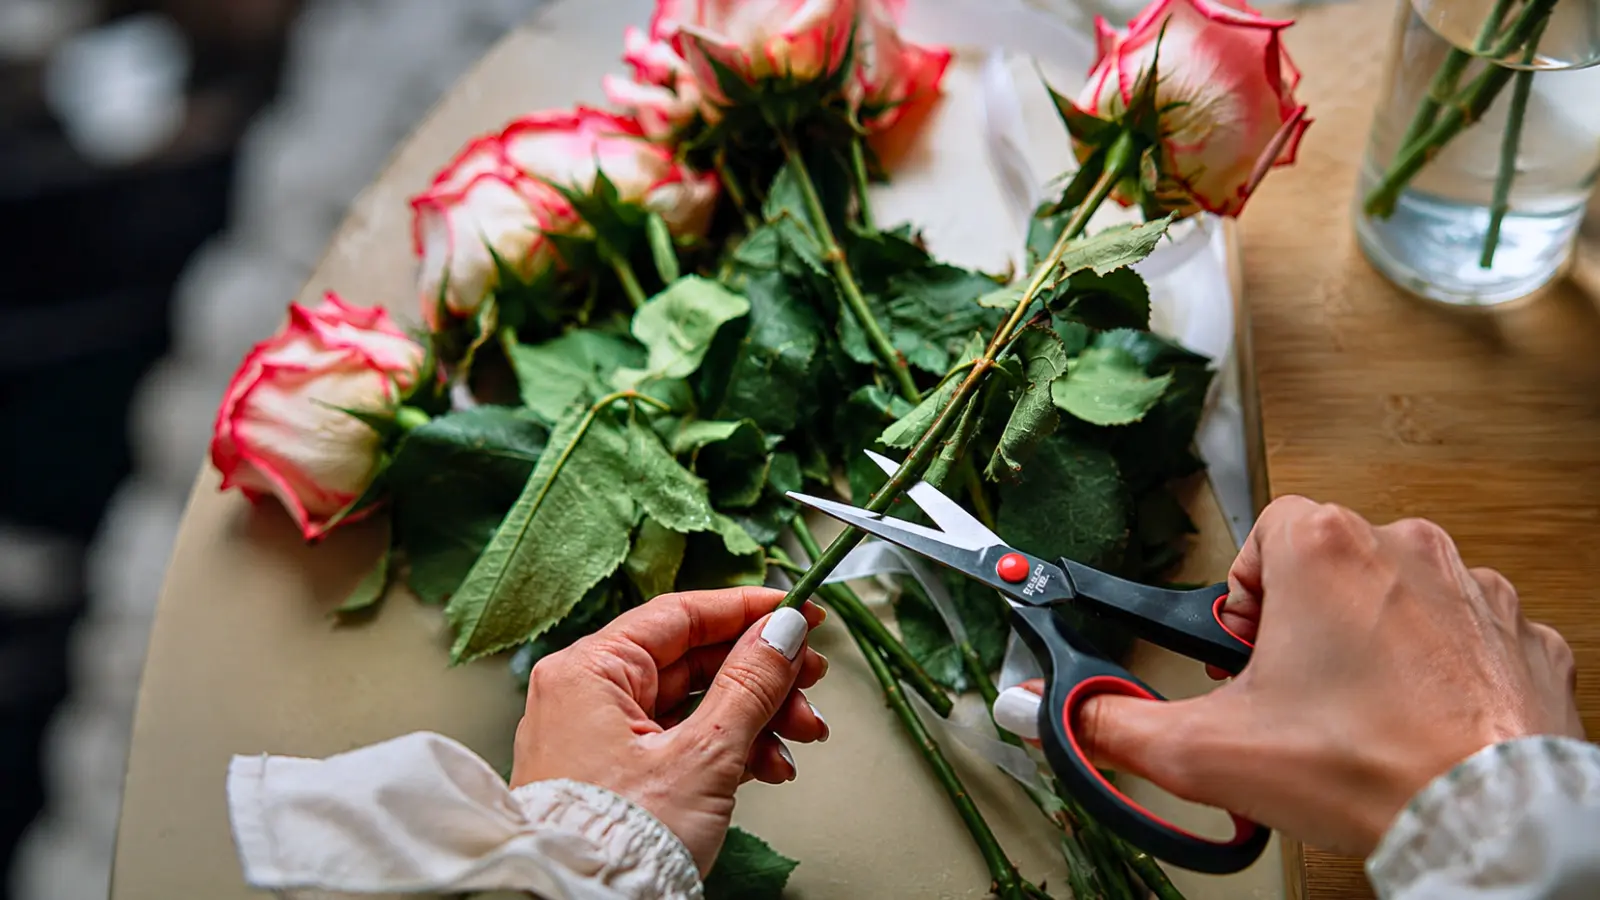
Step 6: Cut the stems. Once secured, cut all stems to a uniform length — typically eight to twelve inches depending on your height and the bouquet size. A clean, straight cut across all stems at once (using sharp scissors on a cutting board) gives the handle a clean, professional look. Place immediately in water until you are ready to wrap.
How to Make a Wedding Bouquet With Artificial Flowers
Artificial bouquets follow the same general logic as fresh ones, but the timeline and technique shift in a few meaningful ways. Without any hydration concerns, you can assemble the bouquet weeks or even months before the wedding — which removes the single biggest source of DIY stress entirely.
The main practical difference is in handling the stems. High-quality silk flowers typically have wire inside the stems, which makes them stiffer and easier to arrange but also harder to cut with regular scissors. Use wire cutters rather than floral scissors, and expect to bend some stems to adjust the angle of the bloom rather than relying on natural movement. This actually works in your favor — you can position each flower exactly where you want it and it will stay there.
Start the same way as a fresh bouquet: hold one stem as your anchor and add the rest in a spiral pattern, rotating the bunch as you go. The spiral is slightly less critical with artificial flowers since the stems do not move on their own, but it still produces a tighter, more natural-looking result than adding stems randomly. Use floral wire to bind the bunch firmly at the base of the blooms before adding any tape — the wire grip is more secure than tape alone on heavier artificial stems.
One thing worth knowing about artificial flowers: quality varies significantly, and it matters more than it might seem. The difference between a high-quality silk bouquet and an inexpensive one is visible in photos — the petal texture, the color gradients, and the way light catches the material are all noticeably different. If you are buying artificial flowers for your wedding bouquet specifically, it is worth spending time comparing options rather than defaulting to the most accessible price point. A bouquet that looks convincing in person and in photos is worth the difference in cost.
How to Wrap a Wedding Bouquet
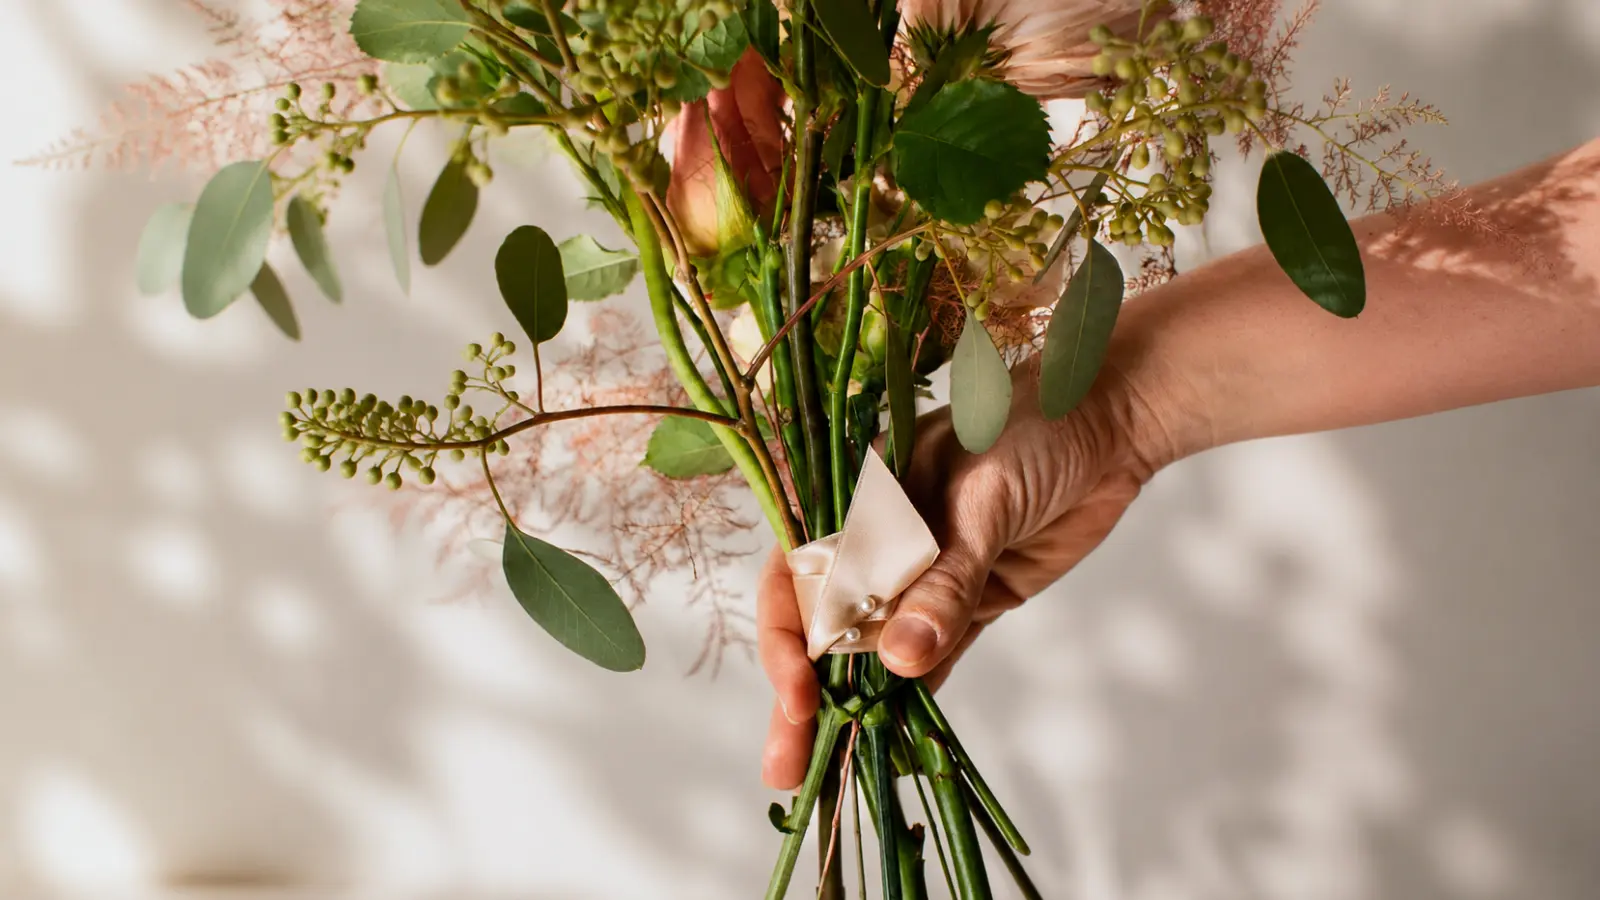
The handle wrap is the finishing step, and it is the part of the bouquet that will be most visible in close-up photos and during the ceremony. A clean, well-wrapped handle looks intentional and elevated; a rushed wrap shows. Take more time here than feels necessary — it makes a real difference.
Start with floral tape. Begin just below the lowest bloom and wrap the tape tightly in a spiral down the full length of the stems. Floral tape is self-adhesive and activates with slight tension — stretch it gently as you wrap and it will bond to itself. This layer creates the foundation for the ribbon and also keeps the stems compressed and tidy.
Add your ribbon layer. Cut your ribbon to approximately twice the length of the handle, plus enough extra to work with. Starting at the top of the handle (just below the blooms), place the ribbon end against the stem and begin wrapping in a tight spiral downward, overlapping each pass by about half the ribbon width. Keep consistent tension as you go — too loose and it will shift throughout the day, too tight and it may pucker.
Secure with floral pins. At the base of the handle, fold the ribbon end under and push two to three floral pins straight through the ribbon and stems to secure it. Tuck the pin tips back up through the ribbon so they do not catch on fabric. Add one or two additional pins along the handle length — particularly near the top — for extra security during a full day of holding.
Ribbon choice is largely aesthetic, but a few practical notes are worth keeping in mind. Satin ribbon is classic and photographs beautifully, but the surface shows fingerprints during a long ceremony. Velvet has a richer texture and holds grip well but is heavier. Dupioni silk is a strong middle ground — slightly textured, lightweight, and with a natural sheen that reads well in photos. Whichever material you choose, buy enough to do a practice wrap on a bundle of leftover stems before the actual bouquet.
How to Keep a Wedding Bouquet Fresh
Fresh flowers are at their best in the 24 to 48 hours after full conditioning — which means the timing of your assembly directly affects how the bouquet looks during the ceremony. The goal is to build the bouquet close enough to the ceremony that the flowers are still at peak hydration, without leaving so little time that you are rushing the final steps.
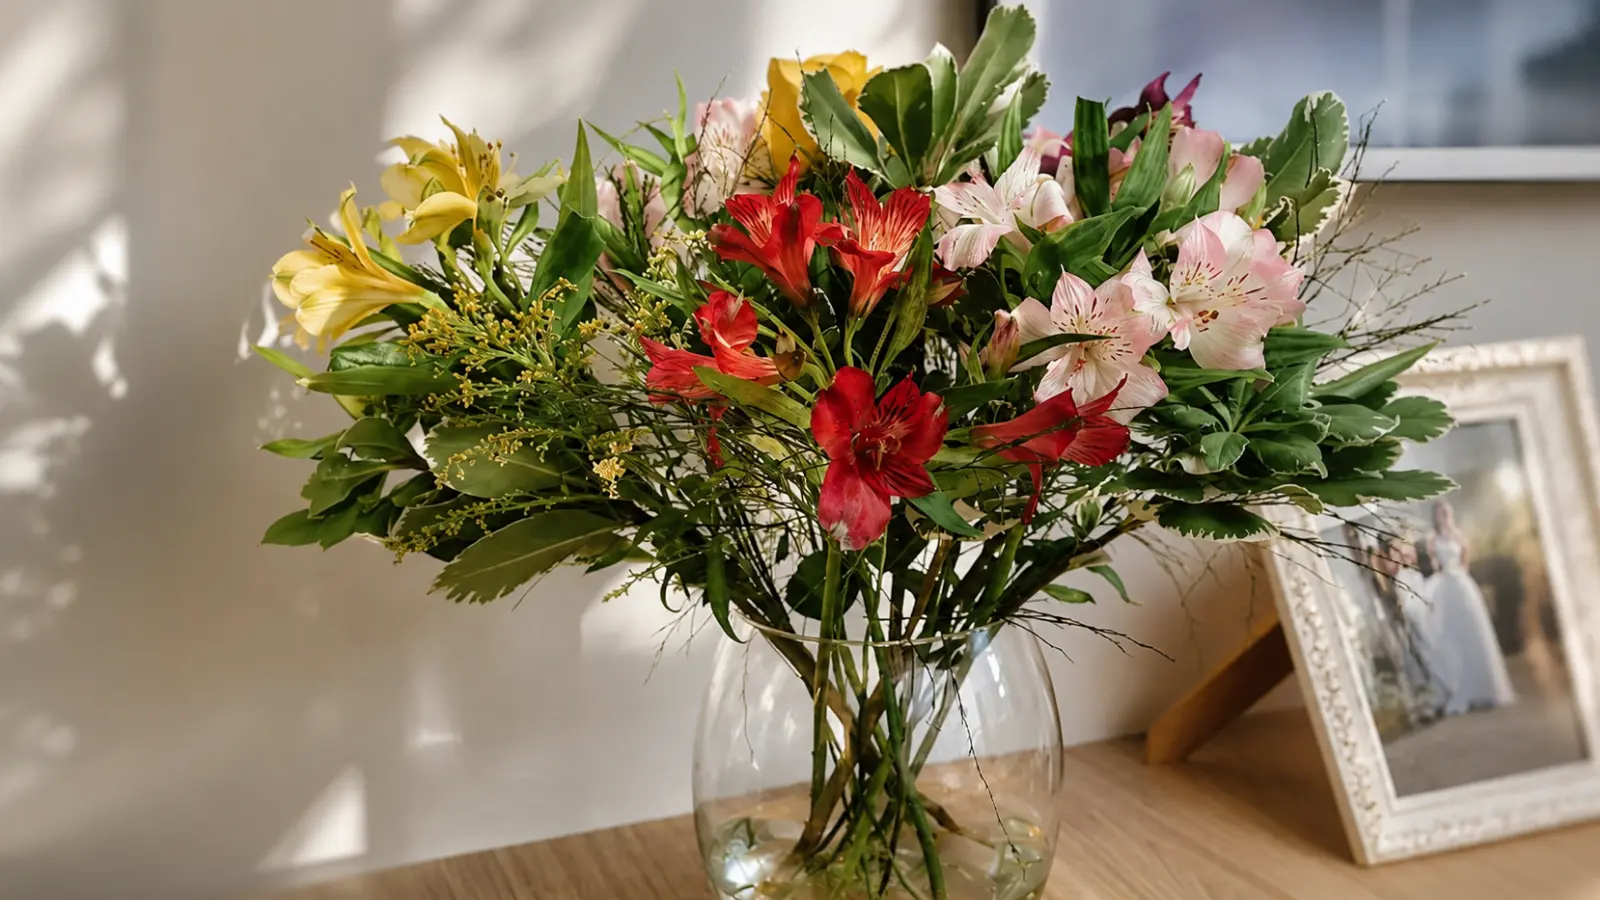
The evening before the wedding is a reasonable assembly window for most brides. After assembling, place the wrapped stems in a vase or container of clean, cool water — the ribbon will absorb some water, but that is fine and far preferable to the flowers going dry overnight. Store in the coolest room available, away from direct sunlight, heat vents, and any open windows that bring in warm air. Do not refrigerate with produce; ethylene gas from fruit and vegetables accelerates wilting faster than most people expect.
On the morning of the wedding, remove the bouquet from water about an hour before you need it. Give the stems a fresh, angled cut and place back in water until you are actually leaving for the venue. If your travel time is more than 20 to 30 minutes, wrap the base of the stems in a damp paper towel, then seal in a plastic bag to hold moisture during transit — this is particularly important in summer or in warm climates where the flowers will be stressed by the temperature change.
During the ceremony and reception, avoid setting the bouquet flat on hard surfaces in the heat. A vase with an inch of water at the reception venue keeps it in the best condition if you plan to display it during the evening. The single most effective thing you can do to extend bouquet life is keep it cool and in water as much as possible before and after the ceremony.
DIY Wedding Bouquet Mistakes to Avoid
Most DIY bouquet problems are predictable — and preventable. The ones that actually affect the final result tend to come from timing, preparation, or skipping the practice run rather than from technique errors during assembly.
Skipping the practice bouquet. This is the single most consequential mistake in DIY bouquet work. Assembling flowers for the first time on the morning of your wedding, with no previous experience of the spiral technique and no sense of how many stems you need, creates unnecessary pressure. A practice run a week before — using inexpensive flowers from the grocery store — teaches you more in one session than any tutorial. It also gives you a chance to discover what actually goes wrong with your specific setup before it matters.
During your practice run, time yourself from start to finish. Knowing how long the process actually takes makes it much easier to plan your wedding day timeline without unnecessary stress.
Buying flowers too early. Fresh flowers purchased more than four days before the wedding lose vitality before you even begin. The sweet spot is two to three days before: enough time to fully condition and hydrate them, not so early that they begin to fade. If you are buying from a wholesale supplier, ask when the flowers were shipped and factor that into your timeline.
Building the bouquet too far in advance. Assembled bouquets sitting unwrapped at room temperature for more than a day will show it. Even with stems in water, a bouquet assembled two days before a wedding rarely looks as fresh as one assembled the morning of. Build as close to the ceremony as your schedule allows.
Making it too heavy. A bouquet that is beautiful to look at but exhausting to hold for three hours is a practical problem no one thinks about until the ceremony. Aim for a weight that feels comfortable in one hand for an extended period. If a bouquet needs two hands to hold comfortably, that is a signal to reduce the stem count or trim down the handle length.
Not accounting for how the bouquet will be held. Most brides hold their bouquet at waist height in front of them, which means the front-facing angle is the one that matters most. Assess your bouquet from that angle — slightly below eye level, tilted gently forward — rather than from directly above or directly in front. Flowers that look balanced sitting on a table can look top-heavy or uneven when held.
Using dull or wrong scissors. Crushed stems cannot uptake water properly, which shortens flower life significantly. Sharp floral scissors are worth the investment — they pay for themselves in the quality of the conditioning process alone. Do not use household scissors on thick stems; the crushing effect is real and cumulative.
Wrapping the handle too quickly. A rushed ribbon wrap that shifts or unravels during the ceremony is visible in every photo. Take the time to wrap carefully, use enough pins, and test the grip by holding the bouquet naturally and shaking it gently. If the ribbon moves, add another pin before you are satisfied.
DIY Wedding Bouquet Ideas
Learn how to make a beautiful DIY wedding bouquet with fresh or artificial flowers. Explore bouquet recipes, flower combinations, wrapping techniques, and step-by-step inspiration to create a bouquet that fits your wedding style and budget.
A Handmade Bouquet Makes the Day Even More Personal
Making your own wedding bouquet is about more than saving money or completing a DIY project. It’s an opportunity to create something personal that reflects your style and becomes part of one of the most memorable moments of your wedding day. With thoughtful flower selection, careful preparation, and a little practice, a handcrafted bouquet can look every bit as beautiful as one made by a professional florist.
The key is giving yourself enough time to prepare. Practice the technique, choose flowers that suit your experience level, and avoid leaving everything until the last minute. When you’re well prepared, creating your own wedding bouquet becomes an enjoyable part of the wedding journey—and one you’ll remember every time you look back at your photos.
Frequently asked questions (FAQ)
Can you really make your own wedding bouquet?
Yes. A classic hand-tied wedding bouquet is achievable for most brides, even without professional floral experience. With the right flowers, a simple spiral technique, and one full practice run before the wedding, many DIY bouquets look beautiful while reflecting a more personal touch than a professionally designed arrangement.
How hard is it to make a DIY wedding bouquet?
A hand-tied bouquet is one of the most beginner-friendly wedding floral projects. The basic technique is straightforward, but confidence comes from practice rather than complexity. More advanced designs, such as cascade bouquets or heavily structured arrangements, usually require professional floral skills.
How many flowers do you need for a wedding bouquet?
A medium bridal bouquet usually contains around 22 to 35 stems, including focal flowers, secondary blooms, and greenery. Smaller bouquets may use fewer stems, while larger garden-style bouquets often require more. Buying 20 to 30 percent extra is a practical way to allow for damaged stems and last-minute adjustments.
When should you make a fresh wedding bouquet?
Most fresh wedding bouquets should be assembled either the morning of the wedding or the evening before. Flowers should be purchased and conditioned two to three days in advance so they are fully hydrated before assembly. Building the bouquet too early increases the risk of wilting before the ceremony.
Should you use fresh or artificial flowers for a DIY bouquet?
It depends on your priorities. Fresh flowers offer natural fragrance, texture, and seasonal beauty, while artificial flowers allow you to build the bouquet weeks or months in advance without worrying about hydration or timing. Both options can create beautiful results when chosen thoughtfully.
How do you keep a DIY wedding bouquet fresh?
Keep the bouquet in clean, cool water whenever possible until the ceremony. Store it in a cool room away from direct sunlight and heat, and avoid refrigerating it with fresh fruit because ethylene gas speeds up wilting. During transportation, wrapping the stems in a damp paper towel helps maintain hydration.
Can you make a wedding bouquet the night before?
Yes. Most fresh wedding bouquets can be assembled the evening before the wedding if the flowers have been properly conditioned. Keep the stems in clean, cool water overnight and store the bouquet in a cool place away from direct sunlight and heat until the ceremony.