Knowing how to wear a wedding veil is just as important as choosing the right one. From where the comb should sit to how to secure it comfortably throughout the day, a few small details can completely change how your veil looks and feels.
Whether you’re wearing your hair up, down, with a tiara, or with a blusher, understanding proper veil placement helps create a comfortable, secure, and beautiful bridal look from the ceremony to the reception.
This guide explains exactly how to wear a wedding veil, including comb placement, hairstyle recommendations, walking down the aisle, removing your veil, and practical tips to make your wedding veil feel effortless throughout the day.
How a Wedding Veil Attaches to Your Hair
Most wedding veils attach with a small comb — a strip of flexible plastic or metal with evenly spaced teeth — sewn into the gathered fabric at the veil’s top edge. The comb slides into the hair horizontally and grips the hair strands between its teeth to hold the veil in place. On its own, the comb holds reasonably well in thick or textured hair, but for most brides, bobby pins added on either side of the comb are what actually keep the veil secure through hours of movement.
Some veils use a single alligator clip instead of a comb. The clip works on the same principle but covers less surface area, so it tends to feel less stable for heavier or longer veils. If your veil came with a clip and you’re concerned about security, ask your hairstylist whether the comb from a different veil could be substituted — many stylists carry extras.
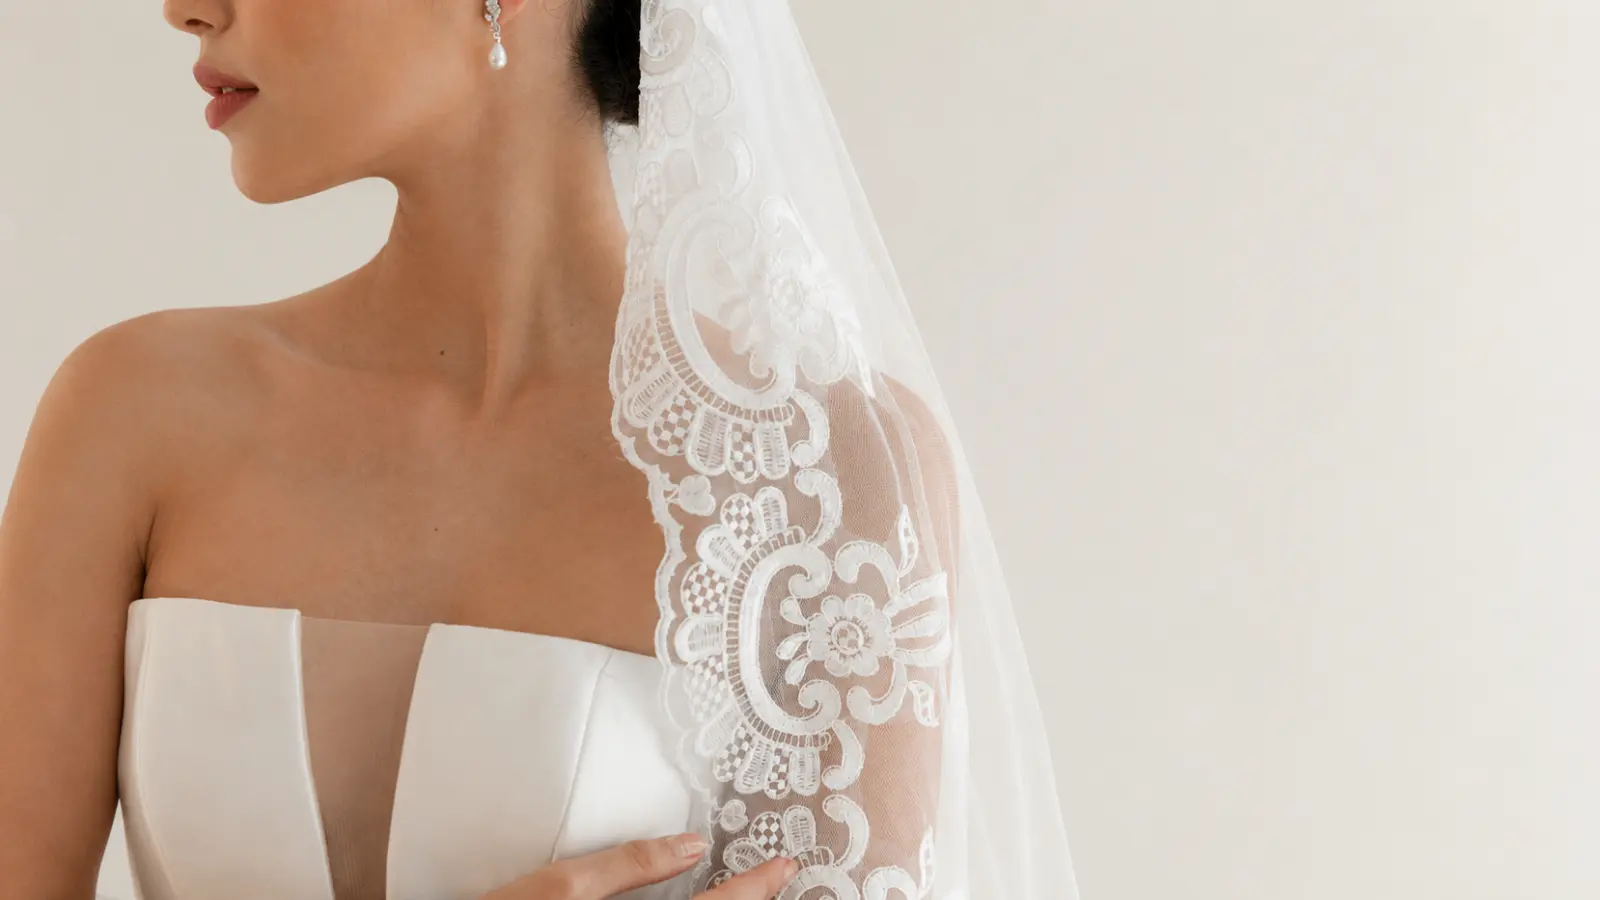
A small number of veils, particularly mantilla styles, don’t use a comb at all. They’re draped and pinned directly into the hair, which requires more skill and is almost always a job for your hairstylist rather than a DIY moment.
Wedding Veil Comb Placement
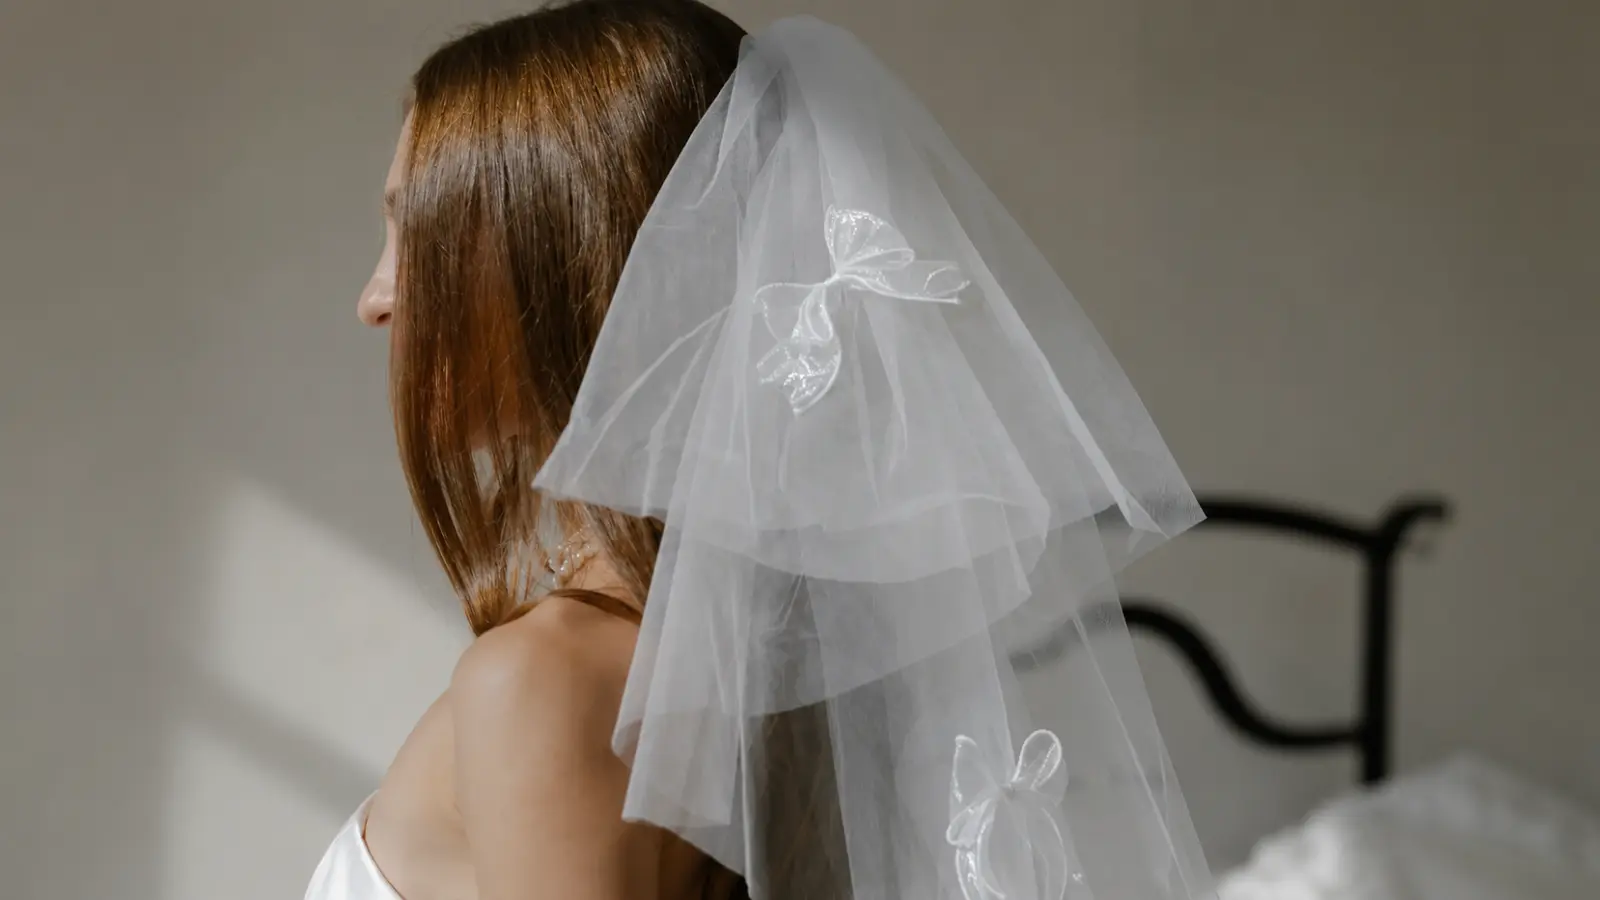
Where the comb sits on your head changes the entire look of the veil. This is one of those decisions that feels minor until you see the difference in person — the same veil can look completely different placed at the crown versus at the nape. There’s no universally correct position; the right placement depends on your hairstyle, your veil’s length and weight, and the overall silhouette you’re after.
These are the three main placements and what each one does:
- Crown placement (top of the head): The most traditional and widely used position. Creates height and a full, classic bridal silhouette. The veil cascades from the top of the head, which makes the length read most dramatically. Works well with most hairstyles and almost all veil lengths. Ideal for a more formal or ceremonial look.
- Mid-back placement (behind the crown): Slightly lower than the crown, sitting toward the back of the head. This is a softer, more romantic placement — the veil flows naturally without reaching for maximum height. It suits updos, half-up styles, and brides who want the veil to feel like part of the hairstyle rather than a separate element perched on top of it.
- Nape placement (base of the skull): A lower, more contemporary position that creates a sleek, intentional look. Works especially well with short veils and modern, minimalist aesthetics. Not ideal for very long veils, which can get flattened against the back at this placement. Pairs naturally with loose, low hairstyles.
In general, a higher placement creates more drama and formality. A lower placement reads as more relaxed and editorial. When in doubt, try all three positions with the veil in hand during your hair trial — the difference is immediately clear.
Placement by Hairstyle
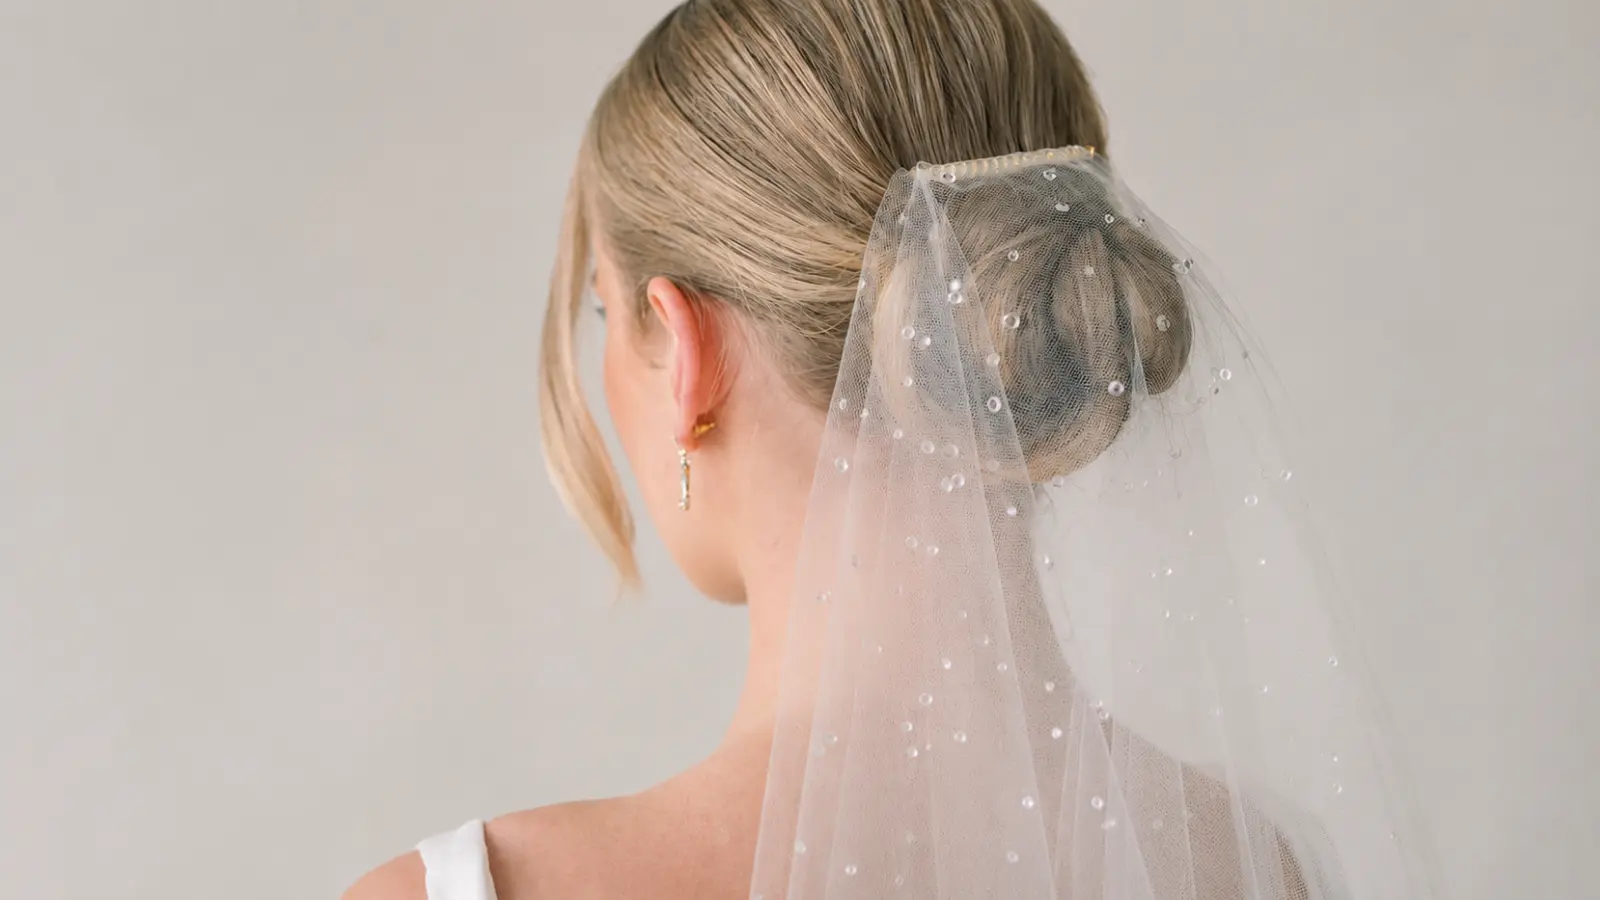
Your hairstyle determines not just where the comb can comfortably sit, but also how the veil will look against your hair, how secure it will feel, and which veil lengths will work best. This table covers the most common combinations.
| Hairstyle | Recommended Placement | Best Veil Lengths | Notes |
|---|---|---|---|
| Classic updo or chignon | Crown or just behind the bun | All lengths | Clean attachment point; comb grips easily into the updo structure |
| Low bun or soft updo | Just above the bun | Fingertip to cathedral | Veil frames the bun; avoid placing the comb into the bun itself |
| Half-up, half-down | Crown or mid-back, into the pinned section | Elbow to chapel | The veil sits within the pinned hair; longer lengths can get lost in loose waves below |
| Hair fully down | Crown, tucked under the top layer | Elbow or fingertip work best | Hair covers the comb hardware naturally; cathedral and longer lengths can disappear into loose hair |
| Braided styles | Into the braid structure at the crown or mid-back | Most lengths | Bobby pins are especially important here; the braid provides good grip |
| Wearing a tiara or headband | Behind the tiara, slightly lower at the crown | Most lengths | Veil sits behind the tiara, not underneath it; test both elements together at the hair trial |
| Wearing a floral crown or wreath | Under the floral piece at crown or mid-back | Fingertip to chapel | The veil goes on first, then the flowers placed on top to cover the comb |
The most important principle in this table: if you’re wearing any headpiece alongside your veil — a tiara, comb, floral arrangement, or headband — test both elements together at your hair trial, not separately. What works in isolation doesn’t always work in combination. For a deeper look at pairing a veil with a tiara or crown, see our wedding veil with tiara, and for hairstyle inspiration by veil type, see our wedding hairstyles with veil.
How to Secure a Veil With Pins
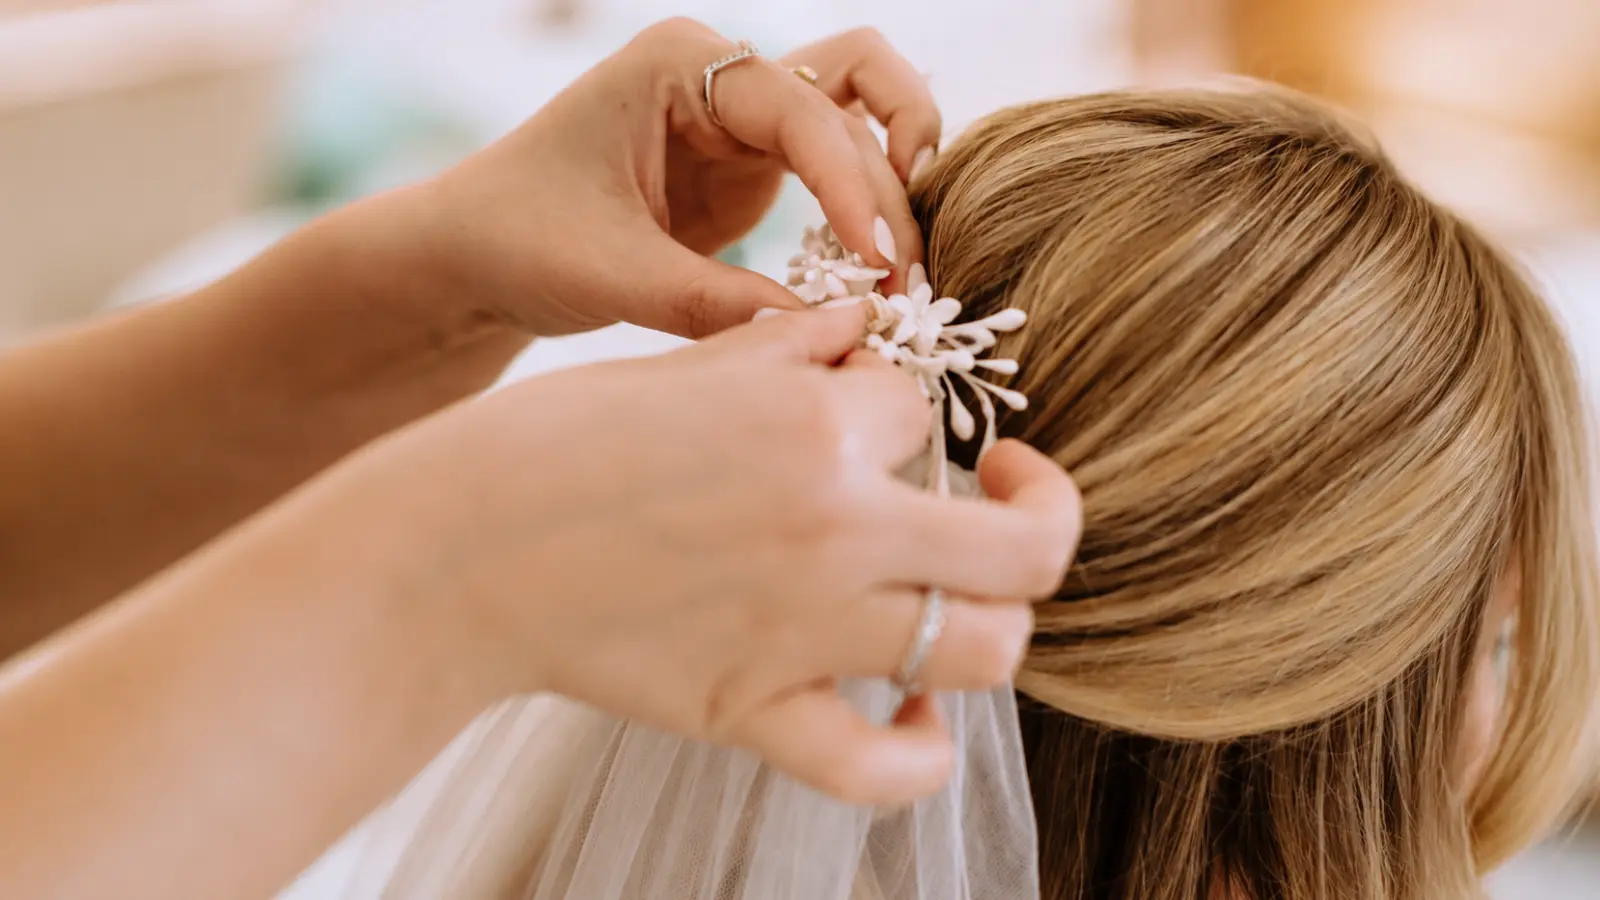
The comb alone rarely does the full job — bobby pins are what keep a veil in place through the ceremony, portraits, and the first few hours of the reception. The technique matters almost as much as the number of pins.
The standard method: once the comb is positioned, insert two to four bobby pins on either side of the comb, threading each pin through one of the comb’s teeth and then angling it down into the hair. Pins inserted at slightly different angles — not all parallel — create more interlocking resistance than a row of pins all pointing the same direction. For extra hold, add two more pins a half-inch away from the comb’s outer edges.
A few things to know before the wedding day:
- Match the pin color to your hair. Standard bobby pins come in dark brown/black and blonde. Using a contrasting pin against light hair (or vice versa) means any visible pins will show in photos.
- Use pins without a wavy texture for fine hair. The wavy grip finish on some bobby pins can catch fine hair and make removal more difficult later.
- Teasing the hair slightly at the attachment point improves grip. Your hairstylist will likely do this automatically, but it’s worth confirming during the trial if your hair is very smooth or heavy.
- Count the pins going in. Write the number somewhere — on the back of your phone case, on the card in your emergency kit. Whoever removes the veil needs to remove every pin before the comb comes out.
If your veil has felt particularly unstable during fittings, ask your hairstylist about using a small amount of veil tape or securing the comb to a hairpiece base for additional anchor points. This isn’t always necessary, but for very long, heavy veils on fine hair, it can be the difference between a secure look and a veil that gradually shifts throughout the day.
Before You Put On the Veil
The veil goes on after your hair is finished but before your dress — that order matters more than most brides realize. Getting dressed in the wrong sequence creates unnecessary scrambling and risks for both the veil and the gown. Run through this checklist in the getting-ready room before anyone reaches for the comb.
Checklist: Before You Put On the Veil
- Hair and makeup are completely finished — no final touch-ups remaining
- You are not yet in your dress (the veil goes on before the dress)
- The veil has been steamed or hung overnight and is free of creases
- You know exactly where the comb will be placed (confirmed at the hair trial)
- Bobby pins in your hair color are in the room and accounted for
- Your hairstylist or maid of honor knows who is responsible for the placement
- You’ve confirmed the pin count you’ll use — and written it somewhere
- You know who will manage the veil during the ceremony and when it comes off
- The storage plan is decided: where the veil goes after removal, and who carries it
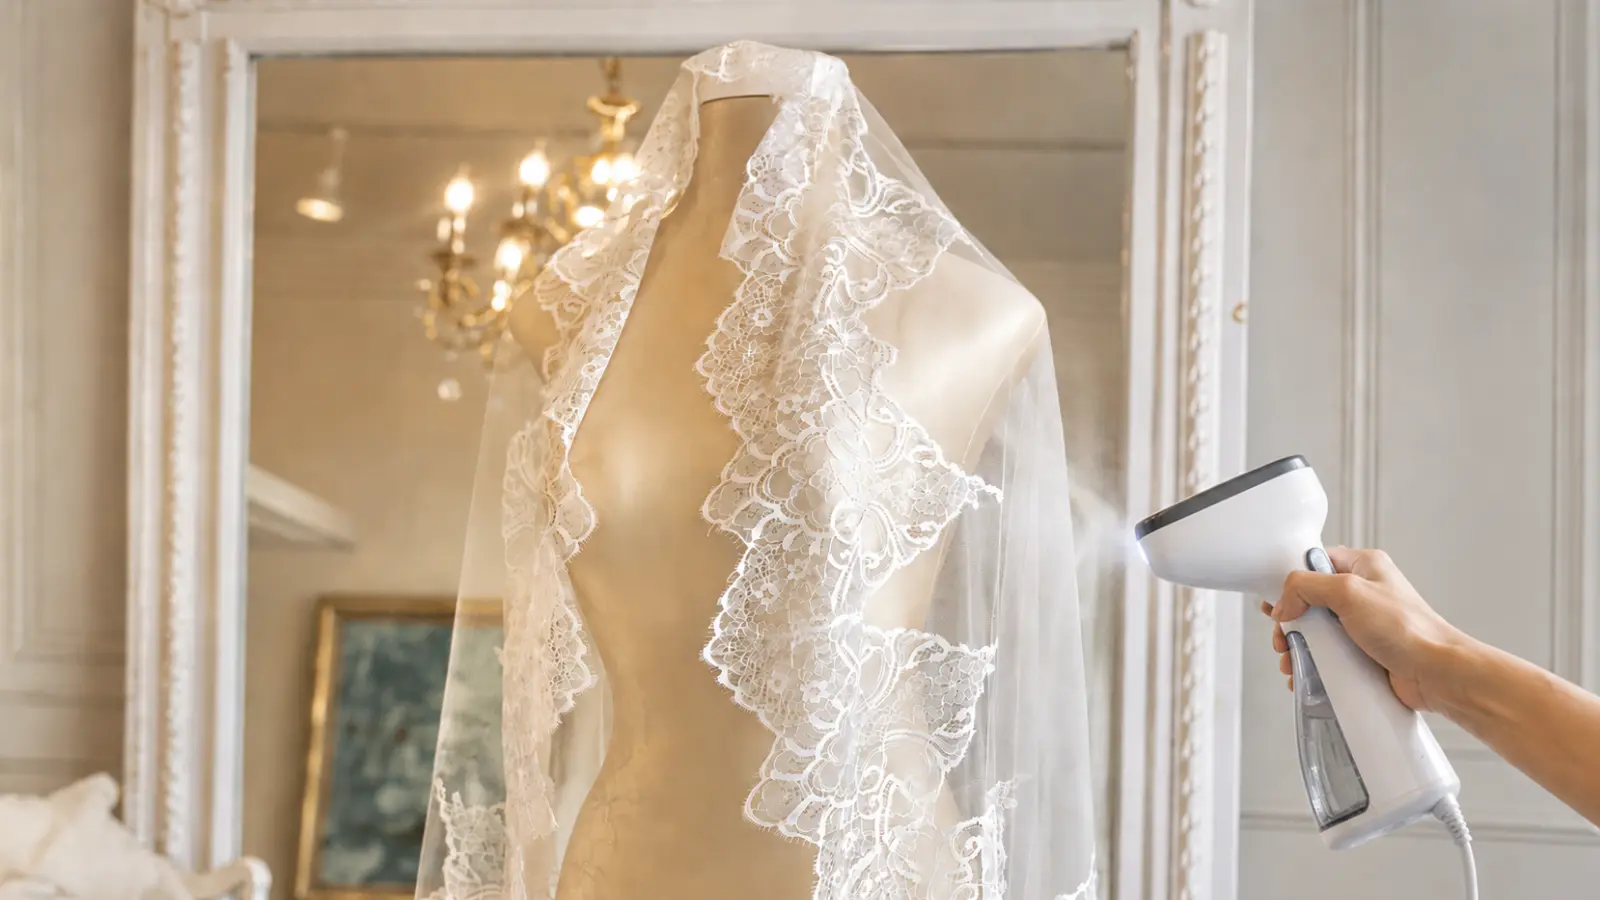
If there’s any question about whether the veil needs steaming, hold a panel of the fabric up to the light. Tulle creases are subtle but visible in photos, especially against a bright sky or white interior. A handheld steamer held six to eight inches from the fabric — not touching it — removes most light creases in a few minutes. Do this the night before, not the morning of, so the fabric has time to settle.
Wearing a Veil With a Blusher
A blusher is the shorter front layer of a two-tier veil that drapes forward over the bride’s face during the processional. If your veil has a blusher, you’ll need to decide in advance exactly how and when it gets used — because this is a moment that happens in front of everyone, and it goes smoothest with a clear plan.
The blusher is flipped forward over the face before the processional begins. Whoever is walking you down the aisle — a parent, a partner, a sibling — typically lifts the blusher at the altar, either before the vows or just before the first kiss, depending on the tradition you’re following. In some ceremonies, the bride lifts it herself. Neither way is wrong; it simply depends on what feels meaningful to you and what you’ve discussed with your officiant.
If you’d prefer not to walk down the aisle with your face covered — you want to see your guests clearly, or the fabric makes you feel claustrophobic — it is entirely normal to flip the blusher back yourself before the processional begins. Many brides do exactly this while still wanting the aesthetic effect of a two-tier veil. There’s no ceremonial requirement to keep the blusher forward during the walk. For more on this style and how the moment typically unfolds, see our blusher veil.
One practical note: if you’re wearing a blusher and have a floral arrangement or headpiece that sits toward the front of your head, confirm at the hair trial that the blusher can flip forward and back cleanly without catching on anything. This is easy to check and easy to fix — but only if you test it in advance.
During the Ceremony: What to Expect
Once the veil is on and secured, the ceremony itself tends to be less eventful than brides anticipate. You’re mostly standing still, which is exactly the conditions a veil performs best in. A few things are worth knowing ahead of time.
Wind is the main variable if any part of your ceremony is outdoors. Tulle catches air, and a light breeze can make even a well-pinned veil shift noticeably. This isn’t a problem in itself, but if you’re marrying outside, do a brief test before the ceremony: stand in the space, let someone hold the veil loosely behind you, and see how it moves. If the location is consistently windy, a shorter veil is generally easier to manage than a longer one, and extra pins at the comb are worth adding.
During the ceremony, don’t actively try to manage the veil. Reaching back to adjust it draws attention and usually makes things worse. Trust that the pins are doing their job, and let the veil behave naturally. If the blusher is forward, keep your movements slow and even — the fabric will stay in place on its own.
After the recessional and before portraits, your maid of honor or stylist should check the veil and reset it if anything has shifted. This is the moment to fan out a cathedral veil for photos, straighten the hem, or gently smooth any sections that got caught during the walk.
Walking Down the Aisle With a Long Veil
For veils at chapel length or longer, understanding how different wedding veil lengths behave during the processional helps you plan the setup before you walk — not because it’s difficult, but because a few minutes of preparation makes a significant difference in how the veil looks.
Before the processional, whoever is helping you at the ceremony entrance should:
- Fan the veil out fully behind you, checking that it hasn’t folded under itself
- Confirm the veil is lying on top of the dress train, or beneath it, depending on your preference — either can work, but it should be intentional
- Make sure no part of the veil is caught under your shoes or the door threshold
- Step back and look at the full picture from several feet away before you begin walking
As you walk, keep a slow, measured pace and let the veil trail naturally. Resist any instinct to hold or gather the fabric — it will follow you. If the veil is very heavy (a cathedral-length style with lace trim or embellishment), the weight actually helps it fall and trail more cleanly, so the longer veils are often easier to walk with than shorter, lighter ones that can catch air and float unpredictably.
If you’re concerned about your veil catching on pew ends or decorations in a narrow aisle, walk a test pass the day before or the morning of the ceremony to check the clearance. This takes five minutes and removes a significant variable from an already full day.
When Do You Take Off the Veil?
There’s no ceremony rule, no etiquette requirement, and no right answer here — just a practical consideration: most brides are more comfortable without the veil once the dancing starts, and the veil has already done most of its visual work by then. The question is where in the evening makes most sense to remove it.
| Removal Timing | Works Best For | What to Consider |
|---|---|---|
| After ceremony portraits, before cocktail hour | Most brides; practical and common | Frees you up for the rest of the evening without managing fabric all night |
| After the first dance | Brides who love the visual of the first dance with the veil | Maid of honor should be ready to receive it immediately after the dance ends |
| After the grand entrance | Brides who want the veil for the reception introduction moment | Good for a dramatic entrance photo; allows quick removal before dinner |
| All night | Brides who feel strongly attached to the veil as part of their look | Requires extra pins and awareness; short and elbow veils hold up better than long ones for dancing |
Whichever timing you choose, assign the job before the wedding day. Tell your maid of honor — or whoever you’ve designated — exactly when and where the removal happens, how to take it off without pulling your hair, and where the veil goes afterward. A veil that ends up crumpled on a reception venue chair is unlikely to survive the night intact. A folded veil in a clean bag, handed to your coordinator or placed with your personal items, has a much better chance.
If you’re wearing a two-tier veil, one option is a partial removal: flip the blusher layer back permanently after the ceremony and keep just the longer back layer through cocktail hour, then remove the full veil before dinner or dancing. It’s a natural middle ground that keeps some of the veil’s visual presence without the full fabric management.
How to Remove a Veil Without Pulling Your Hair
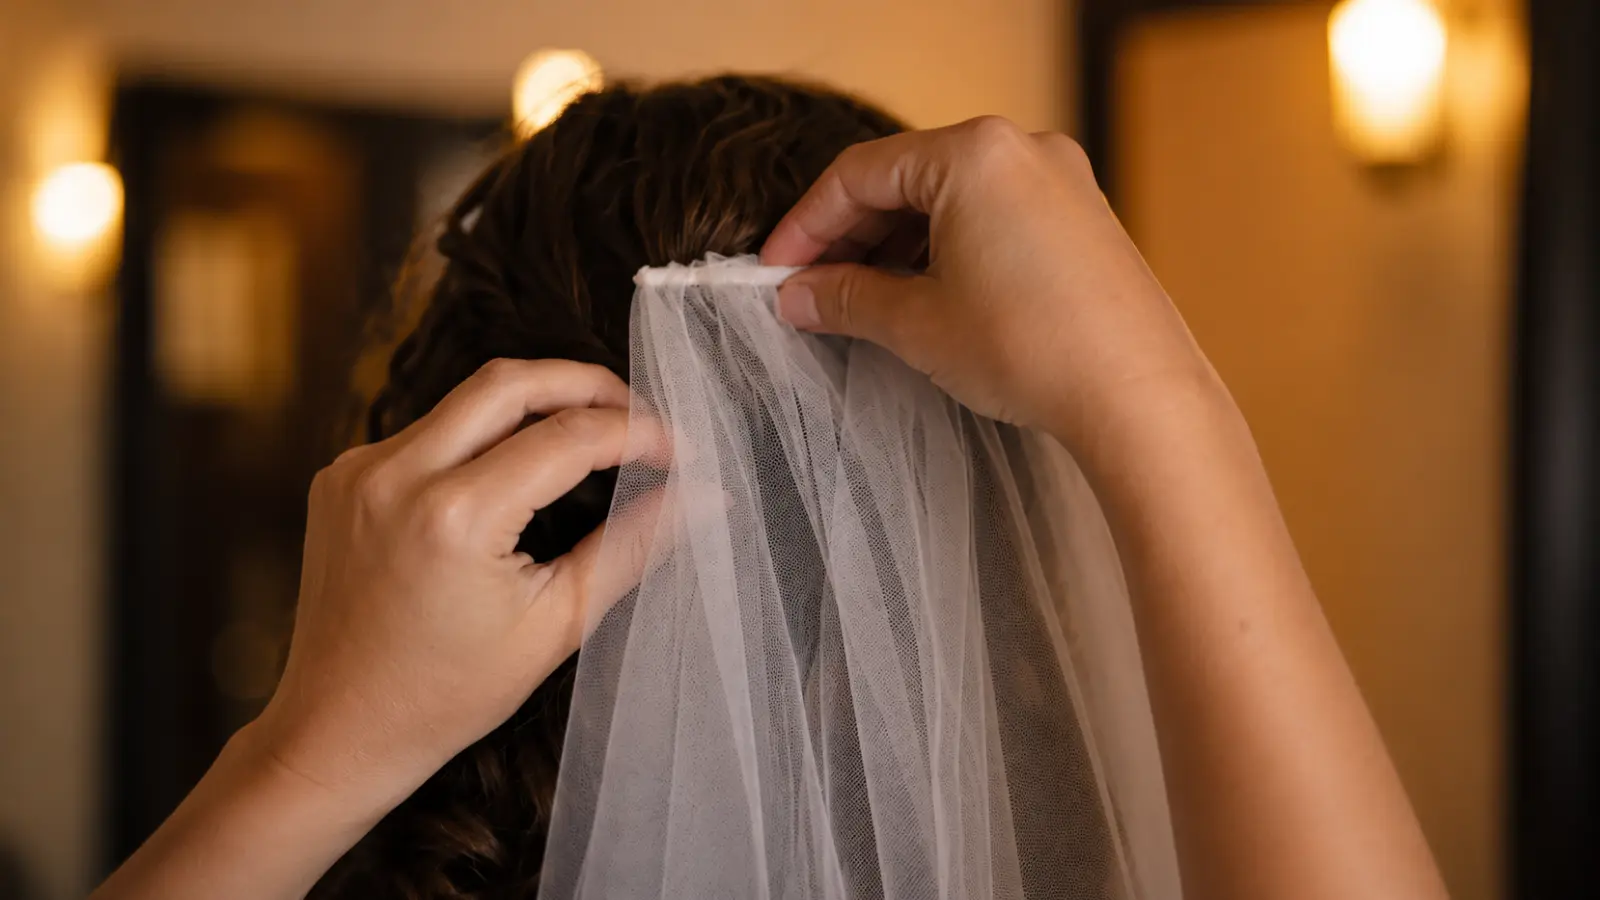
Veil removal goes smoothly when it’s practiced in advance and slightly catastrophically when it isn’t. The most common mistake is trying to pull the comb out while the bobby pins are still in place — that’s when hair gets caught and pulled, and occasionally when combs break.
The correct sequence, every time:
- Step 1: Remove every bobby pin first. All of them. Using a fine-tooth comb or your fingernail, locate each pin by feel and slide it straight out in the direction it was inserted. Don’t rush this step.
- Step 2: Hold the veil fabric loosely with one hand. This reduces the tension on the comb and prevents the weight of the veil from pulling downward while you work.
- Step 3: Slide the comb straight back, then down. The comb should come out in a smooth, backward motion — not lifted upward. Lifting pulls against the hair strands threaded between the teeth.
- Step 4: Hand the veil off immediately. Don’t set it down unfolded. The person receiving it should begin folding or rolling it loosely right away.
This process should take under two minutes when someone has practiced it. That’s a reasonable thing to ask your maid of honor or hairstylist to run through once — either at the hair trial or the morning of the wedding — so the mechanics are familiar before the reception.
For storing the veil after removal: loosely roll the veil around tissue paper or an acid-free sleeve rather than folding it flat. Folds create crease lines that can be difficult to remove without re-steaming. A clean garment bag or the original veil packaging works well as a carrier.
Common Mistakes to Avoid
Most veil problems on a wedding day are predictable — which means most of them are also preventable. These are the ones that come up most often.
- Skipping the hair trial with the actual veil. The comb placement should be decided at the hair trial, with the real veil in hand. Deciding on the day adds unnecessary variables when you already have enough to manage.
- Putting the veil on after the dress. Getting the veil on after you’re already in your gown means reaching over your dress, risking snags on embellishment, and getting bobby pins near fabric that shouldn’t have them near it. Veil first, dress second — always.
- Not telling anyone the pin count. If you used six pins and the person removing the veil thinks there were four, two pins are going to end up pulling your hair when the comb is removed.
- Assuming the veil is self-managing. It isn’t. For any veil longer than fingertip, someone should be assigned to fan it out before the processional, check it before portraits, and manage the removal at the planned time.
- Wearing it too long into the reception. There’s nothing wrong with keeping a veil on through the first dance or a few portraits, but a cathedral veil on a dance floor at 10 PM is a different thing entirely. Set a time and stick to it.
- Leaving the storage plan vague. “Someone will take care of it” is how a veil ends up left on a chair, stepped on, or forgotten at the venue. One person, one clear job, one designated spot.
The pattern here is the same as it is with most wedding day details: the things that go wrong are almost always the things that weren’t decided in advance. The veil itself is simple; the planning around it is what determines how it feels on the day.
How to Wear a Wedding Veil Inspiration
Discover beautiful wedding veil placement ideas for every hairstyle, from elegant updos and soft waves to tiaras, cathedral veils, and fingertip styles. Explore real bridal inspiration and expert styling ideas to help you wear your wedding veil comfortably, beautifully, and with confidence throughout your wedding day.
Wear Your Wedding Veil With Confidence
Wearing a wedding veil isn’t about following strict rules—it’s about finding the placement, style, and timing that feel comfortable and complement your bridal look. A little planning before your wedding day ensures your veil stays secure, photographs beautifully, and never becomes something you have to worry about.
Once you’ve practiced the placement, planned the removal, and coordinated everything with your hairstylist, you’ll be free to enjoy every moment knowing your veil is exactly where it should be—from your walk down the aisle to your final dance.
Frequently asked questions (FAQ)
How do you wear a wedding veil correctly?
Put the veil on after the hairstyle is completely finished and secure the comb at the placement chosen during your hair trial. Add bobby pins through the comb for stability, especially with fine hair or a long veil. Assign someone to arrange it before the processional, check it before portraits, remove it at the planned time, and store it safely afterward. Testing the full process in advance is the best way to avoid wedding-day problems.
How is a wedding veil attached to your hair?
Most wedding veils have a plastic or metal comb sewn into the fabric. The comb slides into the hairstyle and is usually reinforced with bobby pins inserted through its teeth. Fine, short, or slippery hair may need additional texture or anchoring from the hairstylist. Mantilla veils may be pinned directly into the hair instead of using a standard comb.
Where should a wedding veil comb be placed?
Crown placement creates the most classic and dramatic silhouette. A position slightly behind the crown produces a softer, more integrated look, while nape placement feels lower, sleeker, and more modern. The best position depends on the hairstyle, veil weight, veil length, and whether another headpiece is being worn. Test the exact placement during the hair trial.
Can you wear a wedding veil with your hair down?
Yes. The comb can be inserted beneath the upper layer of hair at the crown or slightly behind it, with bobby pins added for security. Elbow and fingertip veils often remain more visible against loose hair, while very long veils can visually blend into waves. The hairstyle should include enough hidden structure at the attachment point to support the comb.
How do you secure a wedding veil so it stays in place?
Insert the veil comb into a prepared section of hair and add two to four bobby pins through the comb teeth on both sides. Angling the pins in different directions creates stronger resistance than placing them parallel. Fine or slippery hair may need light teasing or a concealed anchor. Use more support for heavy lace, embellished, cathedral, or royal veils.
How do you remove a wedding veil without pulling your hair?
Remove every bobby pin before touching the comb. Hold the veil fabric loosely to take its weight off the hairstyle, then slide the comb straight backward and slightly downward rather than lifting it upward. The person removing it should know the exact number of pins used and ideally practice the sequence beforehand.
When should you take your wedding veil off?
Most brides remove the veil after ceremony portraits and before cocktail hour or the reception. Others keep it on for the grand entrance or first dance. The best timing depends on comfort, length, and how strongly the veil contributes to the reception look. Decide in advance who will remove it and where it will be stored.