A Wedding Seating Chart works best when you solve the room before you solve the people. Start with the venue floor plan, table shapes, real capacities, fixed features, accessibility needs, and circulation paths, then place guests according to relationships, household connections, social comfort, and any conflicts that need separation.
Trying to seat people from names alone creates problems later. A grouping may look perfect on paper and still fail if the table cannot physically hold everyone, a wheelchair route is blocked, important guests have poor sight lines, or families and friends are split in ways that make the room feel awkward.
This Wedding Seating Chart guide explains how to build the plan from the floor plan forward, including assigned tables versus assigned seats, capacity, guest grouping, VIPs, families, friends, single guests, children, accessibility, conflicts, final assignments, and the guest-facing seating display.
Start With the Floor Plan, Not the Guest Names
The room itself should determine the first version of the seating plan.
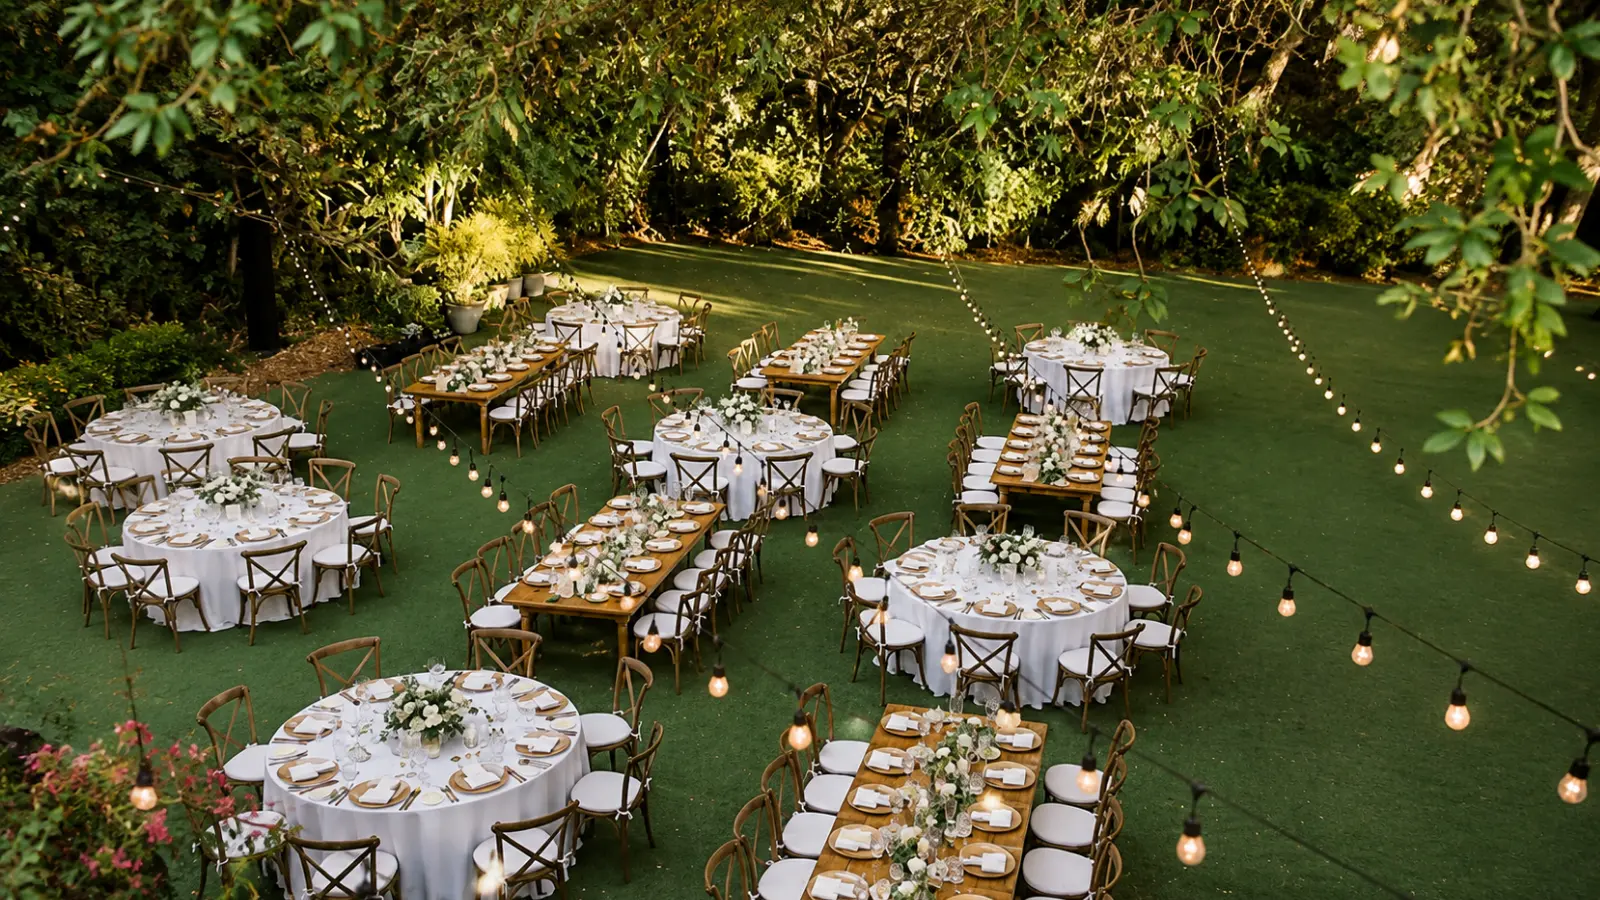
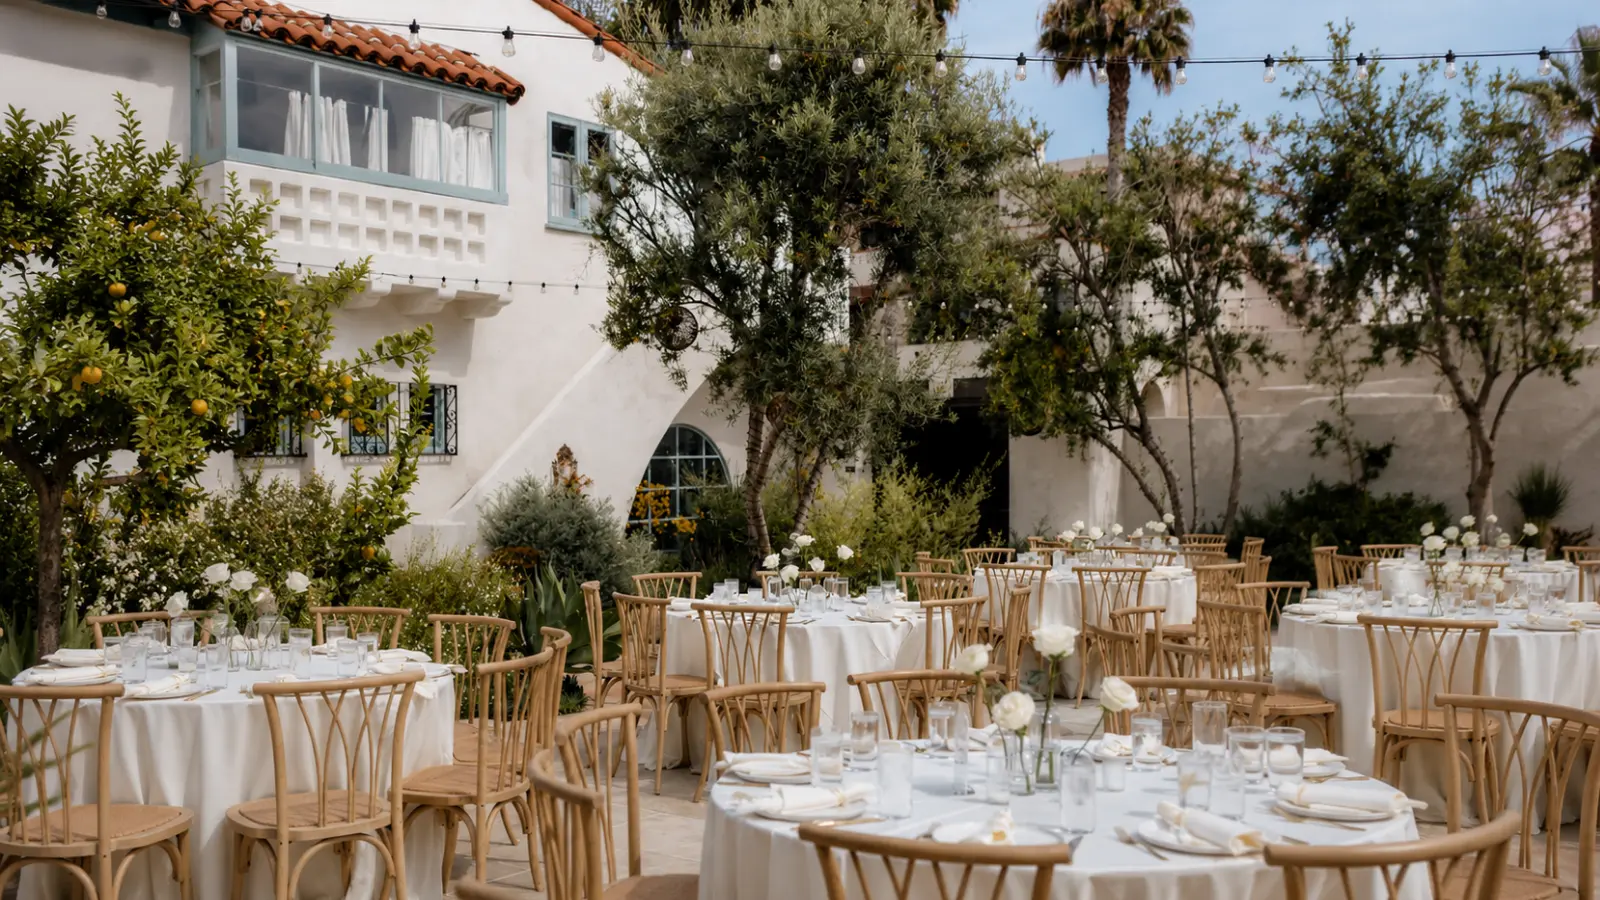
Ask the venue for the actual reception floor plan and confirm which elements are fixed: dance floor, stage or band area, sweetheart or head table, bar, buffet or service stations, exits, columns, restrooms, and accessible routes. Then confirm which tables the venue or rental company is actually using.
A wedding seating arrangement built without those details is still hypothetical.
Once the room is mapped, mark tables by number or name and note their usable capacities. That turns the floor plan into a real framework for guest placement.
Assigned Tables vs. Assigned Seats
Most weddings only need assigned tables, while some events benefit from assigned seats as well.
Assigned tables tell guests which table to join but let them choose their exact seat. This is usually simpler and gives each table some flexibility.
Assigned seats place each guest in a specific chair. This can be useful for formal service, detailed place-card systems, accessibility needs, complex family dynamics, or a reception where the exact seat matters operationally.
Choose the level of control the event actually needs. More precise seating is not automatically better if it adds work without solving a real problem.
Know the Real Capacity of Every Table
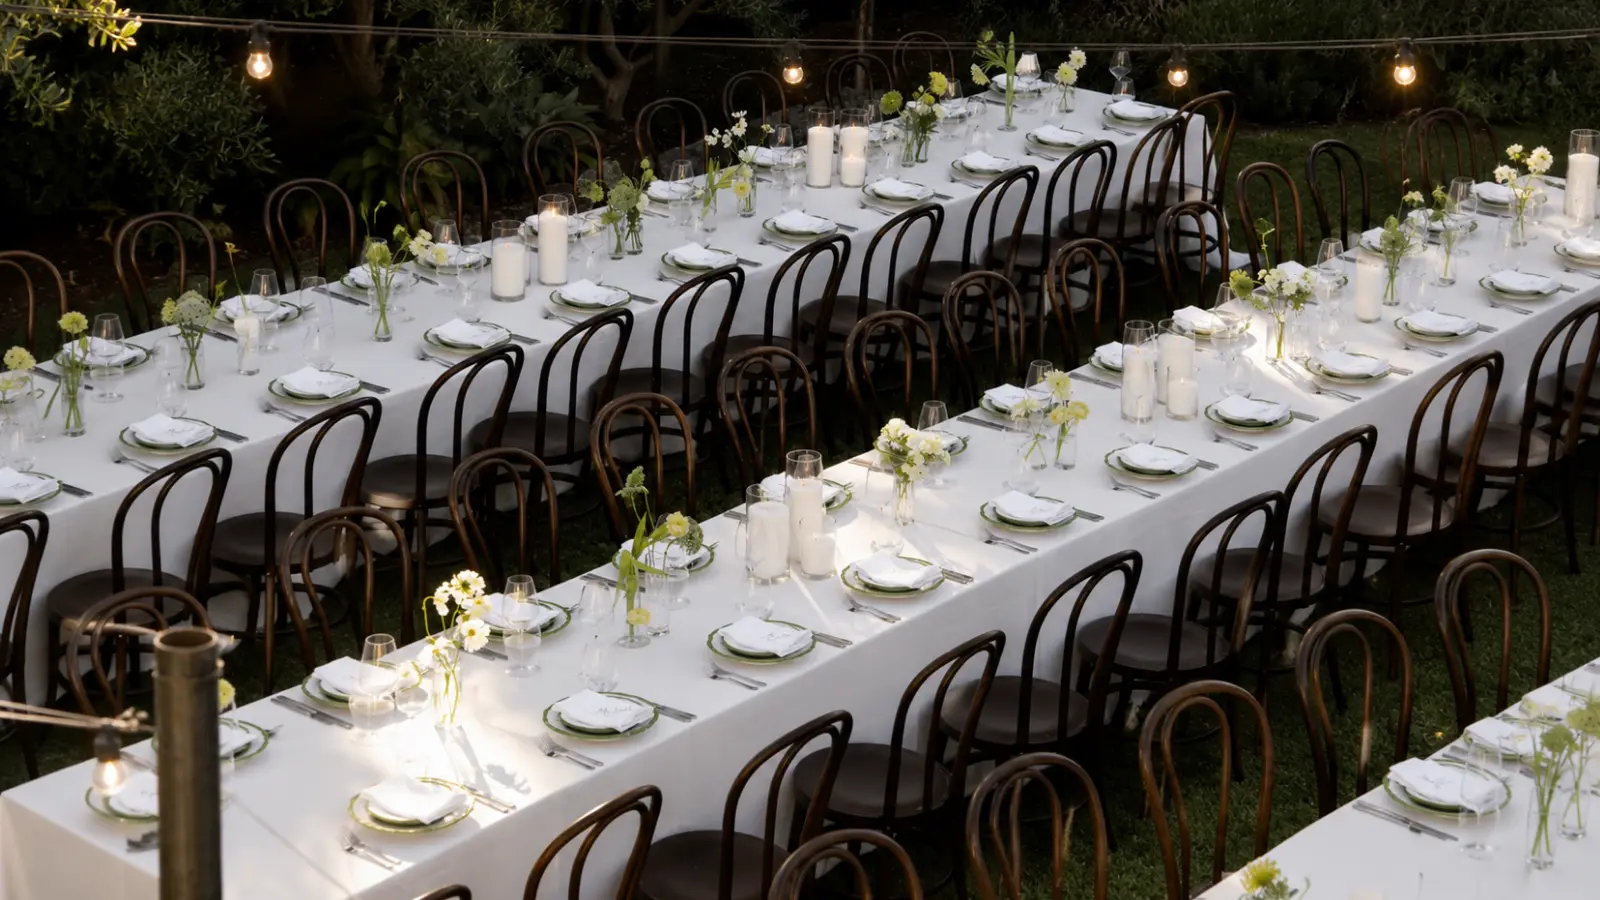
Table capacity is not just the manufacturer’s theoretical maximum. It depends on table size, chair width, place settings, service style, centerpieces, and the amount of room the venue needs around each table.
Use the capacity confirmed by the venue, caterer, planner, or rental team for the exact setup you are using. Do not assume that every round or rectangular table seats the same number in every room.
It is also useful to know whether a table can comfortably function one seat under capacity. That flexibility can solve a difficult grouping without overcrowding another table.
Capacity is the hard edge of the seating plan; relationships are the flexible layer inside it.
Build a Working Table to Track Assignments
A simple tracking table keeps capacity, group logic, and special needs visible in one place instead of scattered across notes and sticky reminders.
| Table | Capacity | Guests | Group | Special Need |
|---|---|---|---|---|
| Table 1 | 8 | 8 | Immediate Family | Easy aisle access |
| Table 2 | 10 | 9 | College Friends | None |
| Table 3 | 8 | 7 | Extended Family | Keep away from groom’s uncle’s table |
Leaving the Group and Special Need columns visible prevents the seating chart from becoming a pure head-count exercise.
Group Guests Before Assigning Tables
Before placing anyone, create social groups that reflect how people actually know one another.
Useful groupings may include immediate family, extended family branches, college friends, hometown friends, work friends, neighbors, wedding-party households, or parent friends. These are working labels, not final tables.
The purpose is to identify natural clusters and bridge guests: people who comfortably connect two groups and can help a mixed table feel cohesive.
When you understand the social map first, table assignment becomes much easier than dragging names around randomly.
If you arrived here searching “how to make seating arrangement wedding,” this is the practical sequence to remember: map the room first, group guests second, assign tables third, and only then resolve individual edge cases.
Seat VIPs With Purpose
VIP seating should reflect both visibility and comfort.
Parents, grandparents, siblings, or other high-priority guests are often placed near the couple, but “near” should still account for sound, accessibility, sight lines, and family dynamics.
An older relative may benefit more from a quieter, accessible table with a clear path than from the closest possible table to the speakers. A parent may prefer to sit with siblings or close family friends rather than at an isolated ceremonial table.
VIP status should shape placement, but it should not override basic comfort.
Seat Families Without Forcing Everyone Together
Family relationships are usually easier to seat when you think in branches and households rather than assuming all relatives belong at one table.
Immediate family may sit close to the couple, while extended family can be grouped by generation, familiarity, or natural conversation patterns. Couples and established partners generally stay together unless there is a specific practical reason not to.
Avoid creating a table simply labeled “family” if the people at it barely interact or have significant tension. Shared last names are not a seating strategy on their own — how those relatives actually get along matters more than the branch of the family tree they belong to.
Build Friend Tables Around Real Social Connections
Friend tables work best when most guests already know at least one or two people well.
Start with existing groups, then use bridge guests to blend smaller circles. A friend who knows both college and work friends may help connect two incomplete tables more naturally than placing strangers together purely because they are similar ages.
Do not over-optimize for “interesting conversation” at the expense of familiarity. Most guests enjoy meeting new people more when they already have a social anchor at the table.
Comfort first, novelty second.
Seat Single Guests as People, Not a Category
Single guests do not need a dedicated singles table.
Seat them with the people they know, the groups they naturally belong to, or guests with whom they share a genuine social connection. A table of unrelated single people can feel conspicuous if the only reason they were grouped together is relationship status.
If a single guest is attending alone and knows few people, place them with warm, socially compatible guests rather than isolating them at the edge of a group.
The seating plan should support connection without turning anyone into a demographic category.
Plan Children’s Seating Around Age and Household
Children can sit with parents, nearby relatives, or at a separate children’s table when age, supervision, and the event format make that practical.
Younger children are usually easier to manage when seated with or very close to the adults responsible for them. Older children or teens may enjoy sitting together if they already know one another and the arrangement works for the families involved.
Do not create a kids’ table simply because children are attending. The seating choice should follow age, independence, family relationships, and supervision needs.
The children-at-wedding guest-list guide should define who is attending; this pillar handles where those confirmed guests sit.
Build Accessibility Into the Floor Plan
Accessibility should be treated as a floor-plan requirement, not a late seating preference.
Consider routes to entrances, restrooms, exits, buffet or bar areas, and the dance floor. Guests using wheelchairs, walkers, canes, or other mobility aids may need more maneuvering room or a seat that does not require navigating tight gaps between tables.
Also consider hearing and visual needs when placement near speakers, stages, or sight lines could affect comfort.
Confirm venue-specific accessibility details directly with the venue rather than assuming the floor plan will work the same way for every guest.
Handle Conflicts Through Distance and Buffering
When two guests should not sit together, separation is usually easier to manage through distance than through elaborate seat-level choreography.
Place them at different tables and, when the conflict is significant, avoid adjacent tables as well. Use neutral buffer groups between them where possible.
For divorced parents, estranged relatives, former partners, or other sensitive relationships, think about sight lines and circulation as well as table number. Two tables can be technically separate but still feel uncomfortably close.
The goal is not to dramatize the conflict; it is to design the room so the problem requires as little attention as possible.
Balance the Room, Not Just Individual Tables
A good wedding seating plan should feel balanced across the entire reception space.
Do not put every energetic friend near the dance floor and every older relative at the perimeter unless that is genuinely what those guests prefer. Spread social energy and high-priority groups through the room while respecting noise, accessibility, and sight-line needs.
Look for tables that are unusually small, unusually large, socially disconnected, or made entirely of “leftover” guests. Those are signs that the room may need another pass.
A seating plan is finished when the whole room works, not when every name has simply been placed somewhere.
Finalize Wedding Table Assignments
Do not finalize the seating chart until RSVP tracking is substantially complete and the final attendance list is stable.
Before locking assignments, reconcile every accepted guest, child, plus-one, and household against the RSVP tracker. Then confirm table capacities one more time against the venue’s final floor plan.
Run a final review for:
- Capacity: no table exceeds its confirmed limit.
- Missing guests: every confirmed attendee has a table.
- Duplicate guests: nobody appears twice.
- Household logic: couples, partners, and family units are intentionally placed.
- Accessibility: all required accommodations are reflected.
- Conflicts: sensitive relationships have enough separation.
Once those checks pass, freeze the master version and treat later changes as exceptions rather than rebuilding the room casually.
Turn the Plan Into a Guest-Facing Display
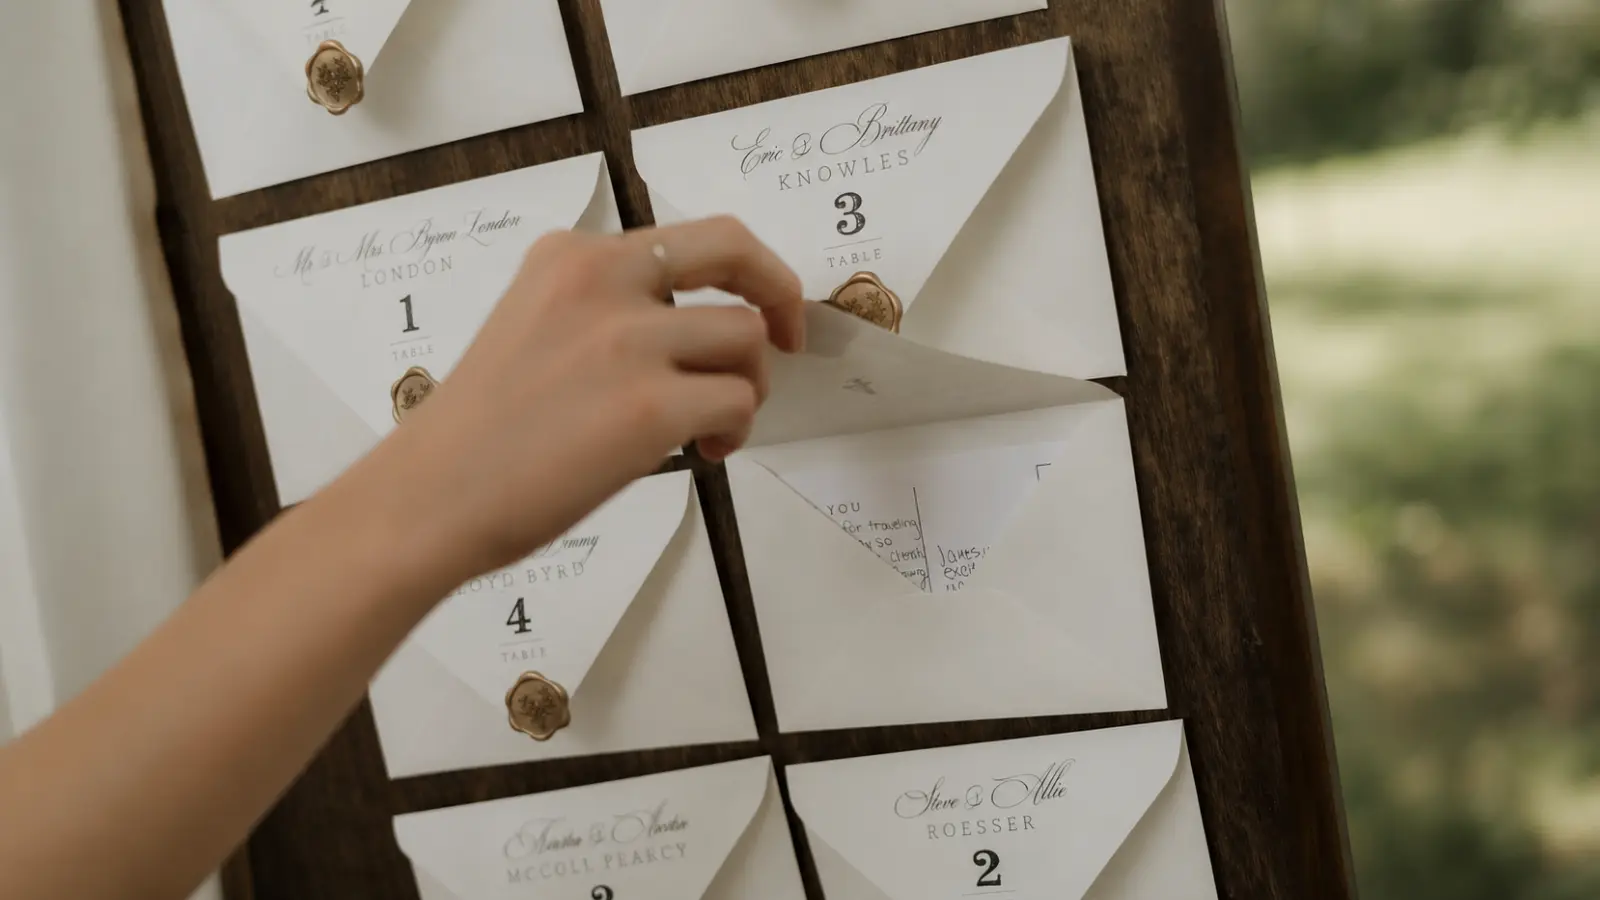
The guest-facing seating chart has one job: help people find their table quickly.
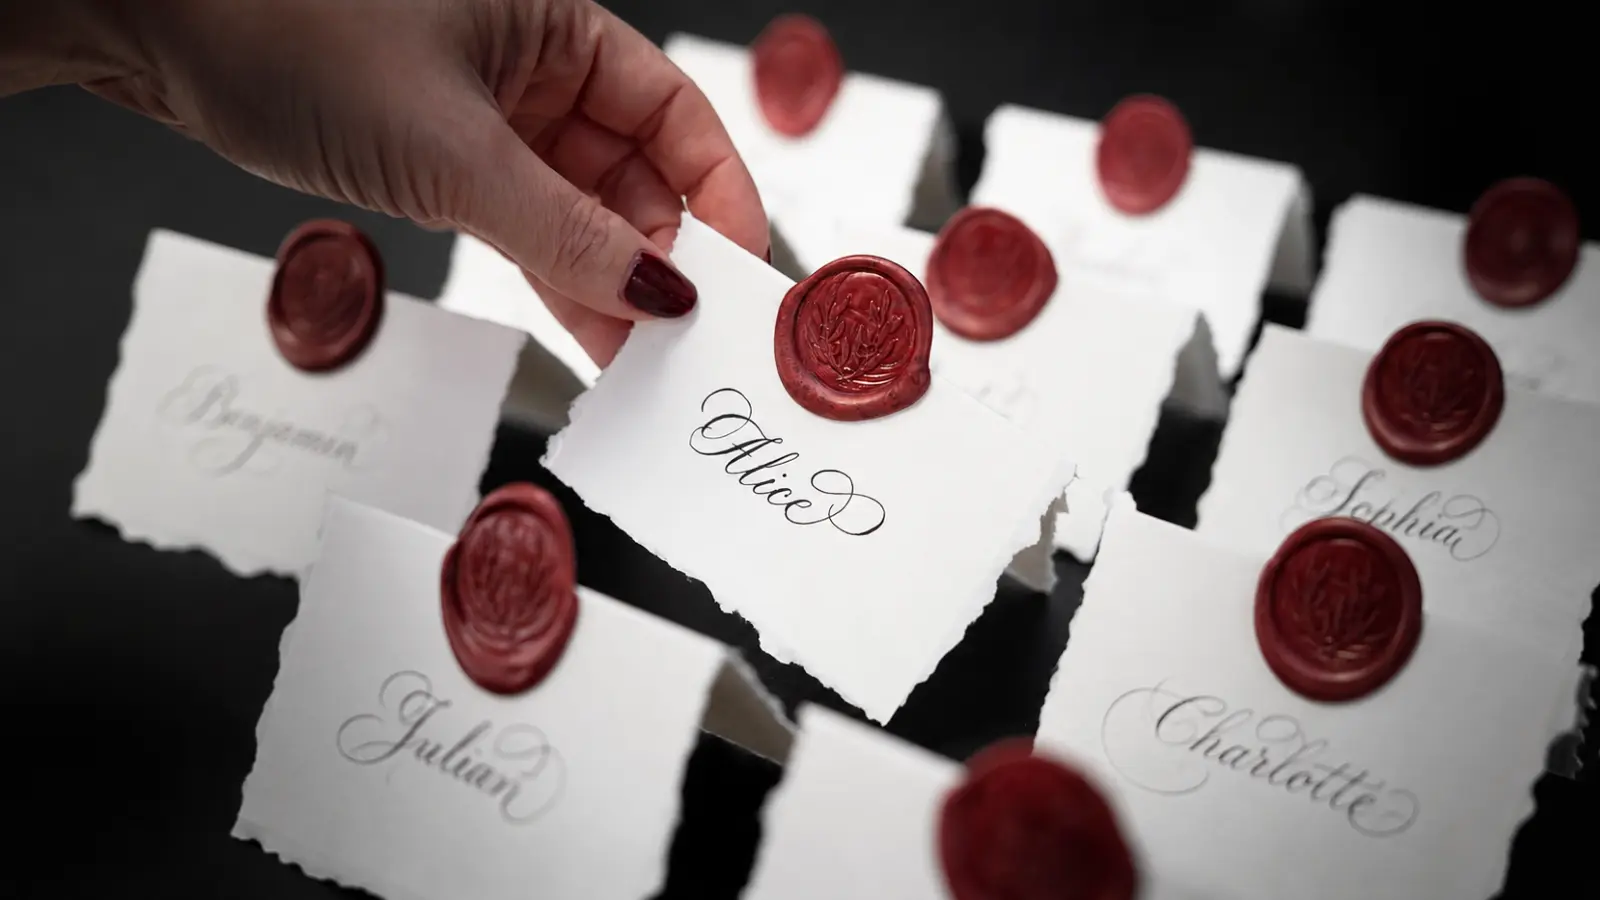
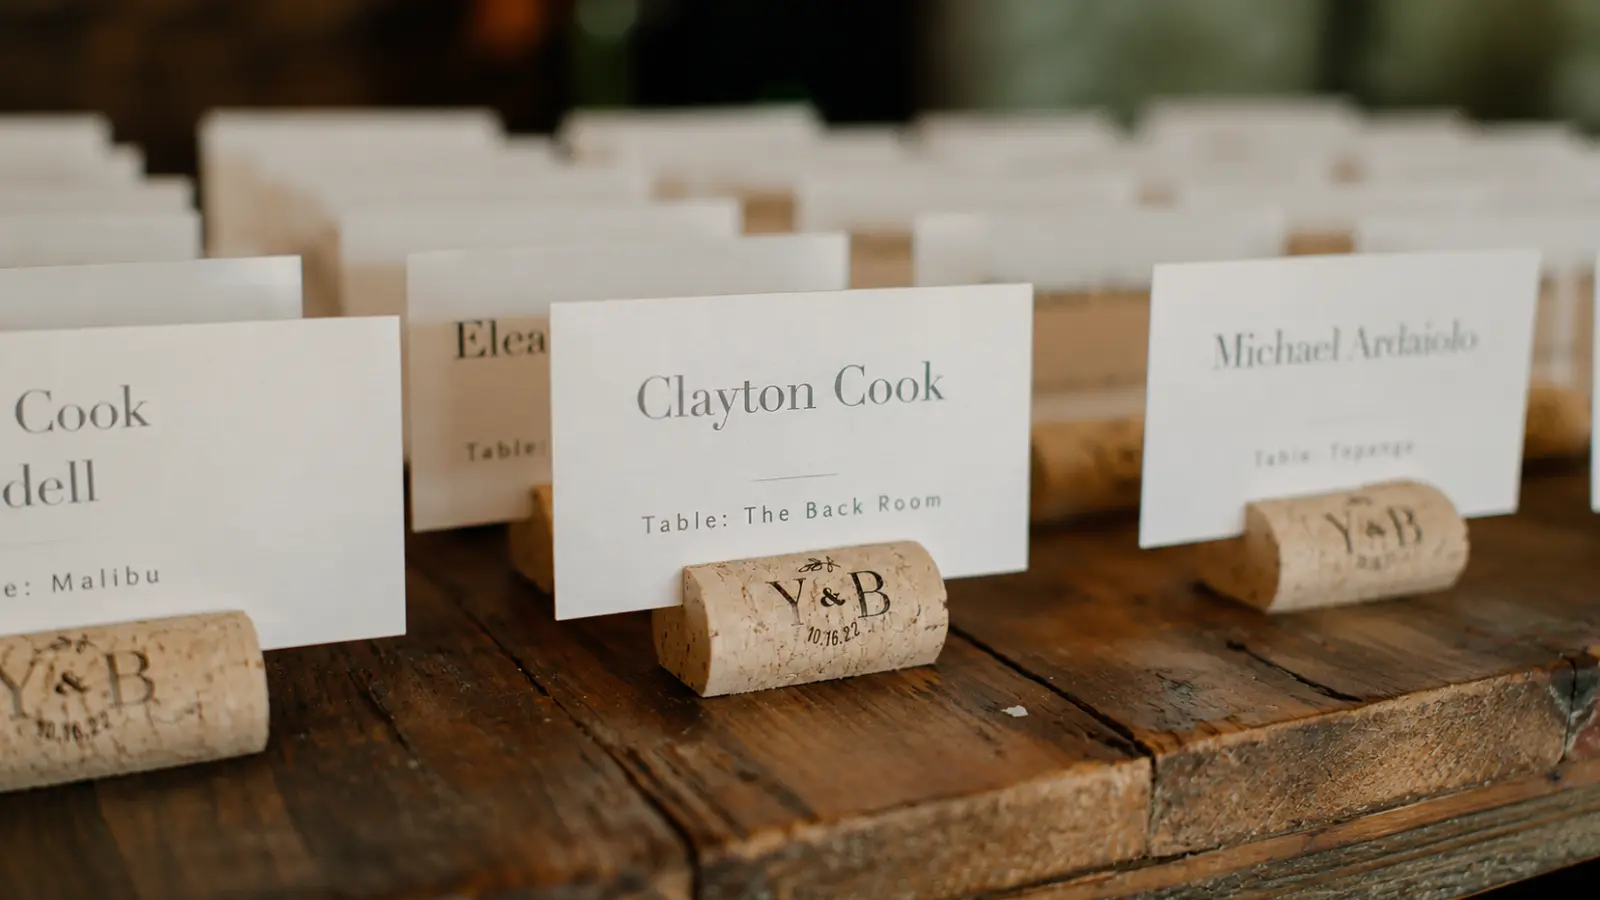
Whether you use a printed chart, escort cards, place cards, or a digital lookup, the names and table assignments should match the final master plan exactly. Sort names alphabetically when that makes the guest experience faster, especially for larger weddings.
If you assign individual seats, make sure the table-level display and place-level identifiers agree.
This page does not cover display décor; function comes first. A visually beautiful display still fails if guests cannot find themselves easily.
Let the Room Solve the Hardest Seating Decisions
A Wedding Seating Chart becomes much easier to build when the physical room sets the boundaries first. Confirm table capacities, accessibility, fixed features, circulation, and sight lines before assigning guests, then use real social connections to shape each table inside those constraints.
Keep couples and households together where appropriate, place VIPs with comfort as well as visibility in mind, separate genuine conflicts, and avoid creating tables from leftover names. Once the room works physically and socially, freeze the final assignments and make sure every guest-facing display matches the same master plan.
Frequently asked questions (FAQ)
How do you make a wedding seating chart?
Start with the final venue floor plan, confirmed table shapes and capacities, fixed features, accessibility needs, and any areas that affect guest movement. Then group confirmed guests by real social connections, place VIPs and households, account for conflicts and accessibility, and assign tables without exceeding capacity. Finalize the plan only after RSVP data is stable enough to avoid constant rebuilding.
When should you start making the wedding seating chart?
You can begin grouping guests and reviewing the floor plan before all RSVPs are complete, but final table assignments should wait until attendance is substantially settled. Use early work to identify natural groups, accessibility needs, family dynamics, and table-capacity issues rather than repeatedly assigning seats to guests whose attendance is still uncertain.
Do you need assigned seats or only assigned tables?
Most weddings work well with assigned tables, which tell guests where to sit while allowing them to choose a specific chair. Assigned seats are more useful when formal meal service, accessibility, precise place settings, or complex family dynamics make exact placement important. Use the level of detail the event actually requires.
How do you seat wedding guests who do not know anyone?
Place them with socially compatible guests and give them at least one natural connection when possible, such as a shared friend, family link, background, or interest. Avoid creating a table entirely from unrelated “leftover” guests. The goal is to give each person enough familiarity to feel comfortable while still allowing new connections to happen naturally.
Should children have their own wedding table?
Only when their ages, independence, supervision needs, and family preferences make a separate table practical. Younger children generally do better seated with or close to the adults responsible for them, while older children or teens who already know one another may enjoy sitting together.
What should you do if your wedding table capacities do not fit the guest groups?
Change the groupings rather than exceeding the confirmed table limits. Split larger groups thoughtfully, use bridge guests who connect different social circles, combine smaller compatible groups, or leave some tables slightly under capacity when the floor plan allows. Table capacity is a physical constraint, so the social plan has to adapt to it.