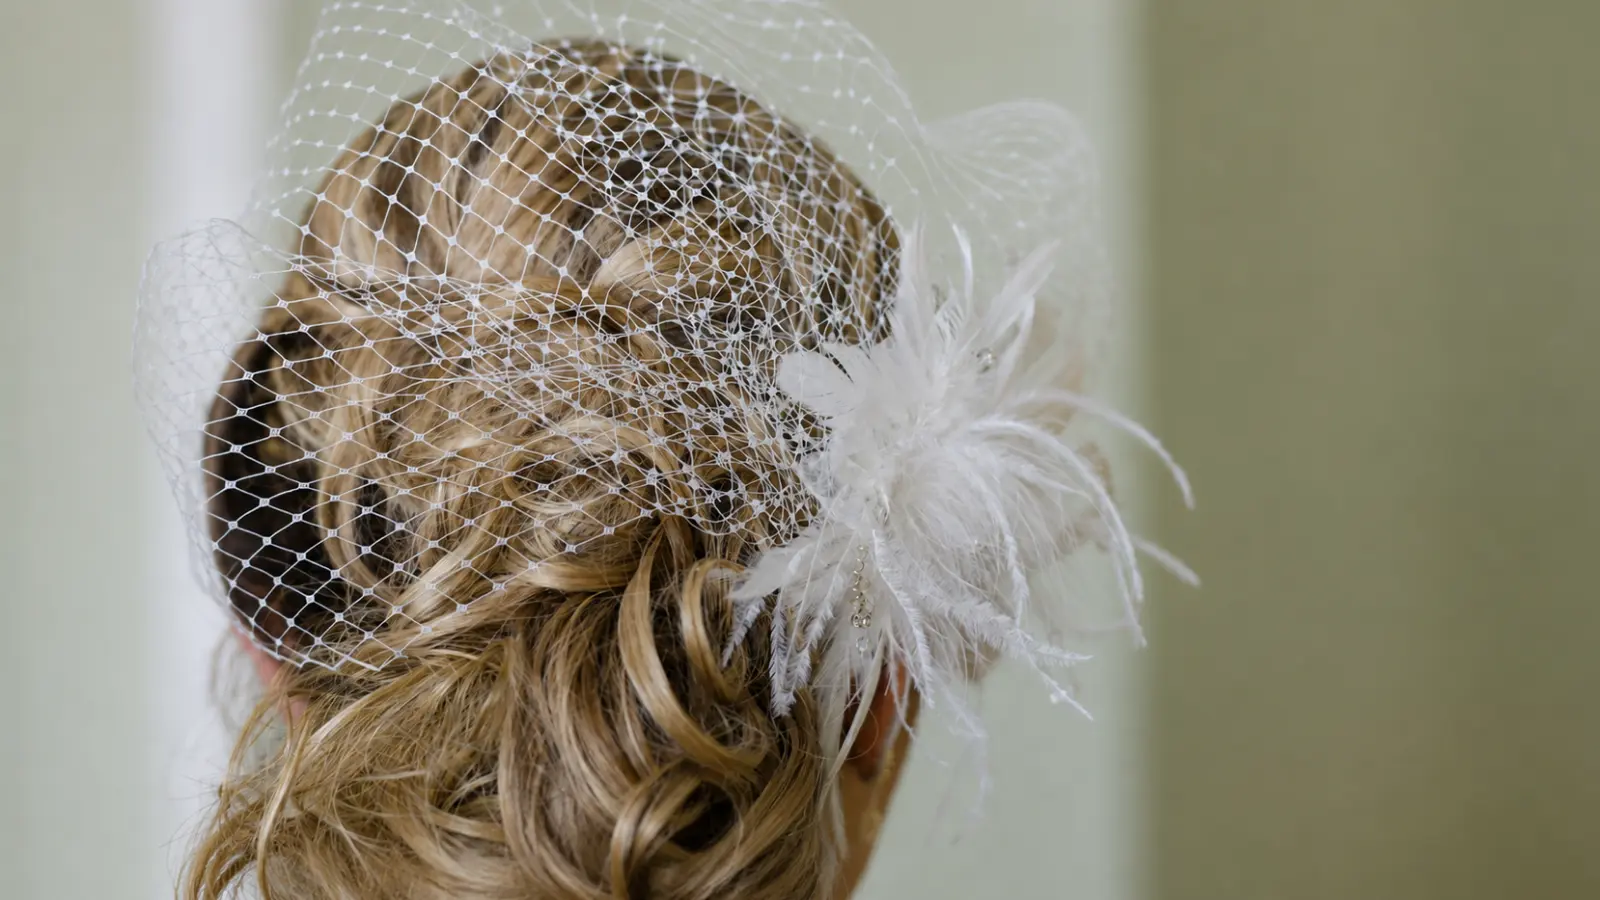

How to make a wedding veil is one of the most rewarding DIY bridal projects because even a simple design can look elegant, timeless, and professionally made when it’s planned carefully. Whether you’re creating a minimalist tulle veil or customizing a design to match your wedding dress, making your own veil can be both a meaningful experience and a way to personalize your bridal look.
The key is choosing a project that matches your experience. While a simple single-layer veil can be completed with basic tools and minimal sewing skills, more elaborate styles with lace, embellishments, or multiple layers require additional techniques and considerably more time. Understanding that difference before you begin helps you avoid unnecessary frustration and achieve a much better final result.
This guide explains everything you need to know about making your own wedding veil, including how to choose the right fabric, determine the ideal length, cut the tulle, attach the comb, finish the edges, and decide whether a DIY veil is the right choice for your wedding style and skill level.
Should You Make Your Own Wedding Veil?
This is worth answering directly before anything else, because the honest answer is: it depends entirely on the style you want.
A DIY veil makes sense when the style you’re drawn to is simple — a single-tier tulle veil with a raw edge, a basic rolled hem, or a minimal gathered style. These are genuinely approachable projects. The fabric is inexpensive, the technique is forgiving, and the result, done carefully, can look exactly as intentional as a purchased veil. Plenty of brides have made their own fingertip or elbow veils and been entirely happy with the outcome.
A DIY veil does not make sense when the style requires technical skill you don’t have. A mantilla with a lace frame requires precise draping and pinning with no visible seam. A cathedral veil with an appliqued lace border requires attaching trim across eight or more feet of fine fabric without stretching, puckering, or misaligning the pattern. A two-tier blusher veil requires gathering two layers to the same comb with consistent tension across both. None of these are impossible, but none of them are beginner projects either, and the risk of a result you’re unhappy with is real.
The practical guideline: if the veil you want is the kind a bride might describe as “simple but beautiful” or “elegant without embellishment,” DIY is worth trying. If the veil you want is the kind a bride would describe as “intricate” or “detailed,” buying from a bridal salon or an independent maker is likely the better path. For a full overview of the different wedding veil styles to compare before choosing a DIY project, see our complete veil style.
DIY Veil Type, Difficulty, and Best For
Before committing to making your own veil, it helps to know where your intended style falls on the difficulty scale. This table is based on what the process actually involves — not what it sounds like from a tutorial headline.
| DIY Veil Type | Difficulty | Best For | Key Requirement |
|---|---|---|---|
| Single-tier raw edge (elbow to fingertip) | Beginner | First-time makers; minimalist or modern looks | Cutting and gathering only; no sewing required |
| Single-tier rolled or sewn edge | Beginner to intermediate | Brides who want a finished edge without embellishment | Sewing machine or careful hand-stitch along full length |
| Single-tier with lace trim edge | Intermediate | Brides comfortable with basic sewing; romantic or classic looks | Machine sewing lace onto fine tulle without distortion |
| Two-tier with blusher layer (elbow to fingertip) | Intermediate | Brides who want the blusher moment; some sewing experience | Two gathered layers attached to one comb with even tension |
| Cathedral single-tier, raw edge | Intermediate | Brides comfortable working with large fabric lengths | Precise cutting at scale; managing fabric without distortion |
| Cathedral with lace border | Advanced | Experienced sewers only | Lace application across 8+ feet of fine fabric |
| Mantilla (full lace drape) | Advanced | Not recommended as a DIY project for most brides | Oval lace cutting, precise draping, no visible seam structure |
If your style falls in the beginner or intermediate range and you’re willing to do a test run with a small piece of fabric before committing to the full length, making your own veil is a reasonable project. If your style is in the advanced category, the honest recommendation is to buy — or to find an experienced local seamstress who can make it for you at a fraction of the cost of a bridal salon.
What You Need
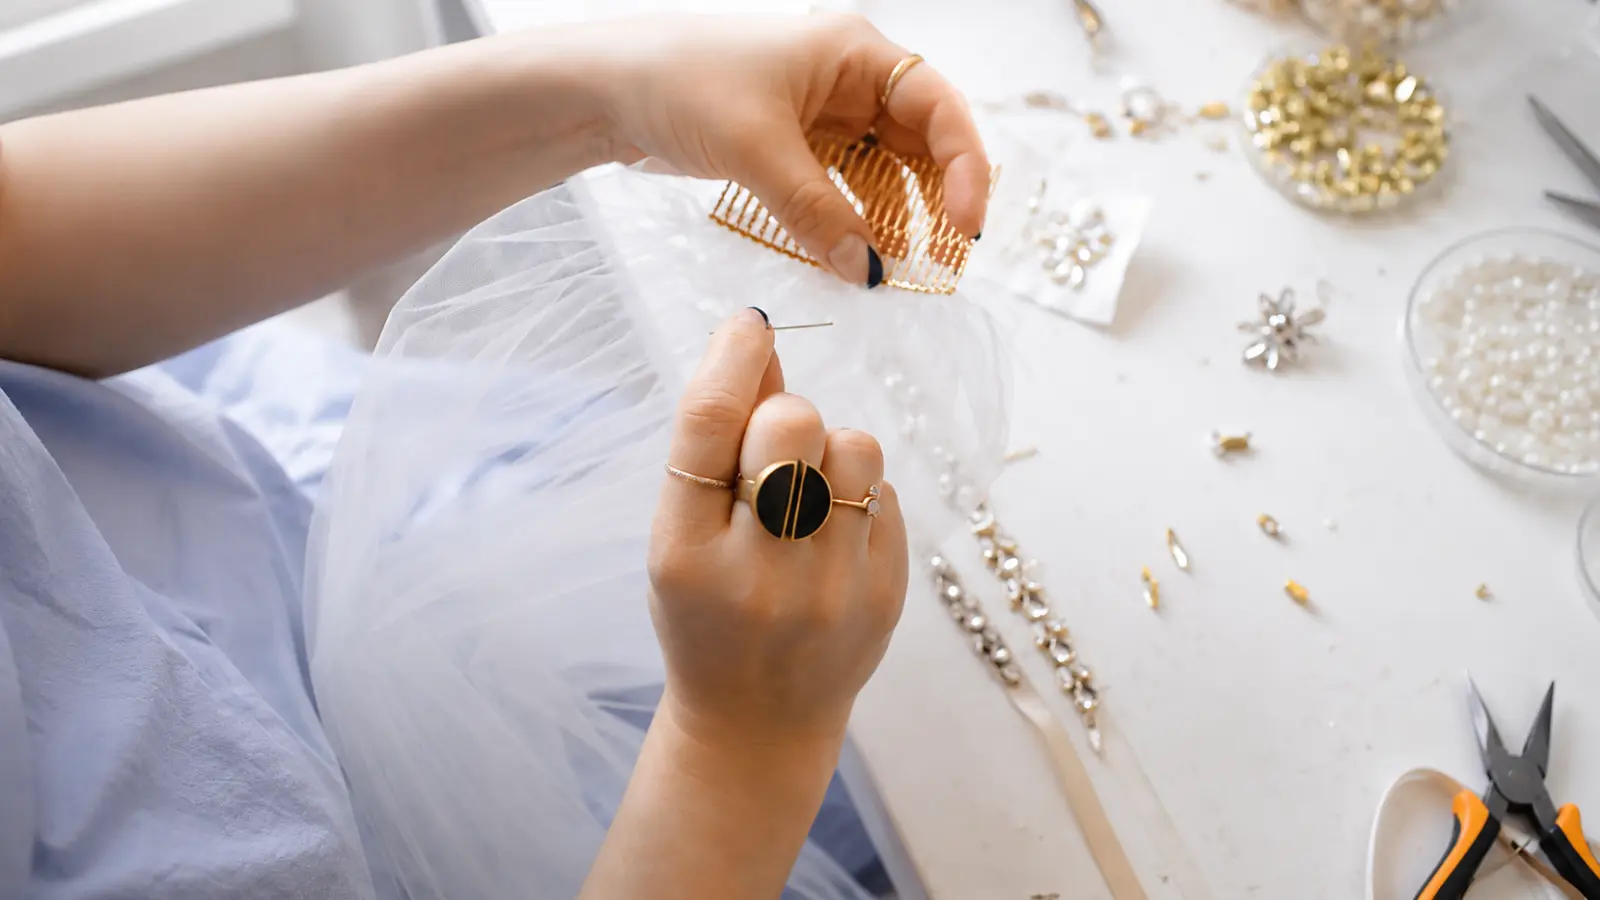
One of the reasons a simple DIY veil is so accessible is that the material list is genuinely short. You don’t need a full sewing kit or professional equipment to make a raw-edge tulle veil. What you do need, you need in the right form — and a few of these details matter more than they might seem.
- Bridal illusion tulle in the width and yardage appropriate for your veil length. Standard bridal illusion tulle comes in 108-inch and 120-inch widths, which is wide enough for most single-tier styles without having to piece the fabric. Buy a few extra inches beyond your intended length to account for trimming and the gathering at the comb.
- A veil comb, typically a metal comb with closely spaced teeth and a flat spine. The spine is what the fabric gathers onto. Most are available in silver or gold tone; choose based on your hair color and whether the comb will be visible in photos.
- Sharp fabric scissors. Not craft scissors, not kitchen scissors. Fabric scissors that are used only for fabric, sharp enough to cut cleanly through fine tulle without dragging or pulling the weave. Dull scissors are the most common cause of uneven edges on DIY veils.
- Strong thread in a color that matches or is invisible in the tulle — typically white, ivory, or nude. Polyester or nylon thread holds better than standard cotton for the comb attachment, which takes repeated stress over the course of the day.
- A hand-sewing needle with an eye large enough to thread without difficulty but fine enough to pass through the tulle without leaving visible holes.
- Pins and a measuring tape for marking the cut line and holding the fabric in place while you work.
- A large, flat surface for cutting — a dining table, a clean floor, or a cutting mat. Fine tulle shifts easily, and cutting on an uneven or small surface is one of the fastest ways to end up with an uneven edge.
For a lace-trimmed veil, add: lace trim in your preferred width and pattern (pre-measured against the veil’s perimeter plus about 10% for corners and turns), fabric glue as a temporary hold if needed, and a sewing machine with a fine needle appropriate for lace and tulle. If you’re doing a rolled hem, a rolled hem presser foot makes that process significantly more manageable.
Choosing Your Fabric
For a first DIY veil, bridal illusion tulle is the right starting point. It holds its shape after cutting, doesn’t fray at a raw edge (which means you don’t always need to finish the edge at all), drapes consistently, and is available in a range of whites and ivories at most fabric stores. It photographs well under most lighting conditions and is forgiving enough that minor imperfections in cutting or gathering aren’t immediately visible.
Silk tulle is softer, more luminous, and considerably more expensive. It’s also more difficult to handle: it shifts when you cut it, is less forgiving of uneven gathering, and doesn’t hold a raw edge as cleanly as bridal illusion tulle. If you’ve made a veil before and you want a more fluid, elevated result, silk tulle is worth considering. For a first attempt, it’s not the place to start.
One practical detail that affects fabric choice: the tone. Bridal illusion tulle comes in white, ivory, and sometimes champagne or blush. The veil doesn’t need to match your dress exactly, but it should be in the same tonal family — a stark white veil against an ivory gown reads as mismatched even in photos taken in warm light. If possible, bring a swatch of your dress fabric when you’re selecting the tulle. For a detailed breakdown of how fabric choices affect the overall look, see our wedding veil materials.
Choosing the Length
Before you cut anything, decide on the finished length of the veil — measured from the comb attachment point at the back of the head to where you want the veil to end. The most common DIY-friendly lengths are elbow (around 25 to 30 inches from the comb) and fingertip (around 36 to 40 inches). Both are manageable in terms of fabric handling and photograph well with most dress silhouettes.
If you’re planning a longer style — waltz, chapel, or cathedral — the process is essentially the same, but the fabric becomes more difficult to handle during cutting and gathering. A cathedral veil at 108 inches requires a surface long enough to lay the fabric flat without folding, and cutting across that much fine tulle evenly is more challenging than it sounds the first time.
For reference measurements and a comparison of how each length falls on the body, see our wedding veil lengths. Knowing the length name and approximate measurement before you buy fabric prevents the most common planning error: buying too little.
How to Cut a Wedding Veil
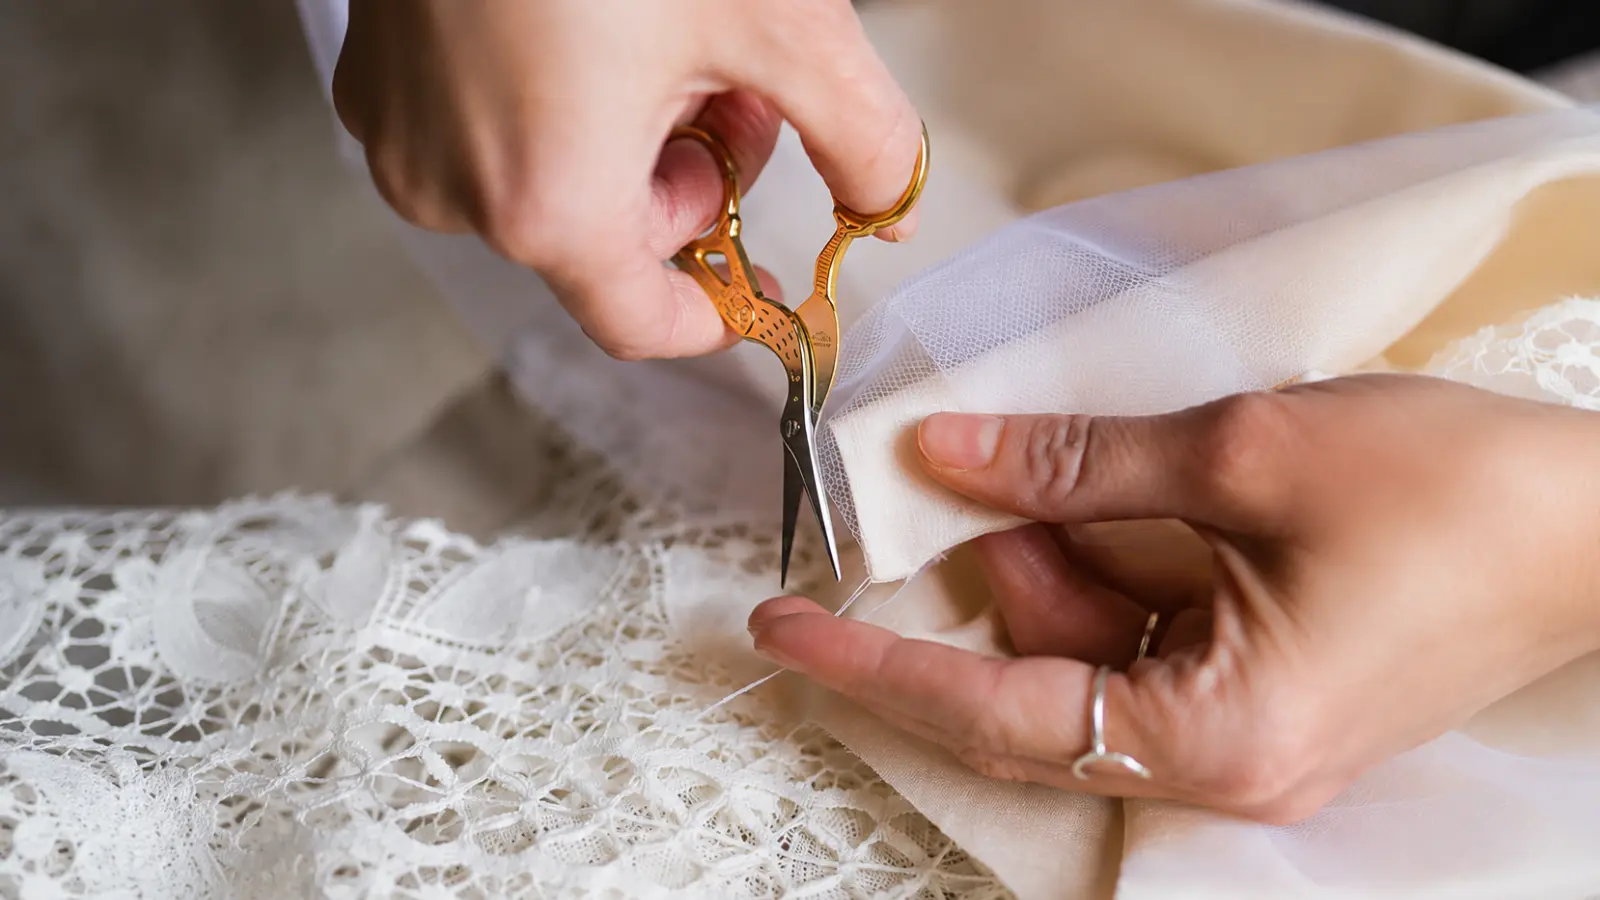
Cutting is where most DIY veil mistakes happen, and almost all of them come from the same source: moving fabric. Fine tulle shifts, stretches slightly, and doesn’t stay flat the way heavier fabric does. The goal before you make any cut is to have the fabric lying completely flat, held in place, with your cut line clearly marked.
Laying Out and Marking
Lay the tulle flat on your cutting surface with no folds or overlaps. If you’re working with standard 108-inch wide tulle for a single-tier veil, the width of the fabric becomes the length of the veil. Measure from one short edge — this will be the comb end — to your intended veil length, and mark the cut line with pins along the full width. Don’t rely on eyeballing the line; pins every six to eight inches keep the fabric from drifting while you cut.
For a straight-cut bottom edge, this is all you need. For a rounded or scalloped bottom edge, make a paper template first, trace it onto the tulle, and cut along the traced line rather than trying to freehand a curve across fine fabric.
Cutting
Use your fabric scissors along the full marked line in long, confident strokes rather than short, choppy cuts. Short cuts create jagged edges in tulle. Hold the fabric lightly with your non-cutting hand to keep it from shifting, but don’t grip it hard enough to stretch it. If the fabric moves while you cut, stop, repin, and continue.
Once cut, hold the veil up to a light source to check the edge. Minor irregularities in a raw-edge veil are largely invisible once the veil is worn — the eye reads the overall drape, not the precise line of the edge. More noticeable irregularities can be trimmed carefully with small, sharp scissors.
Edge Finish Options
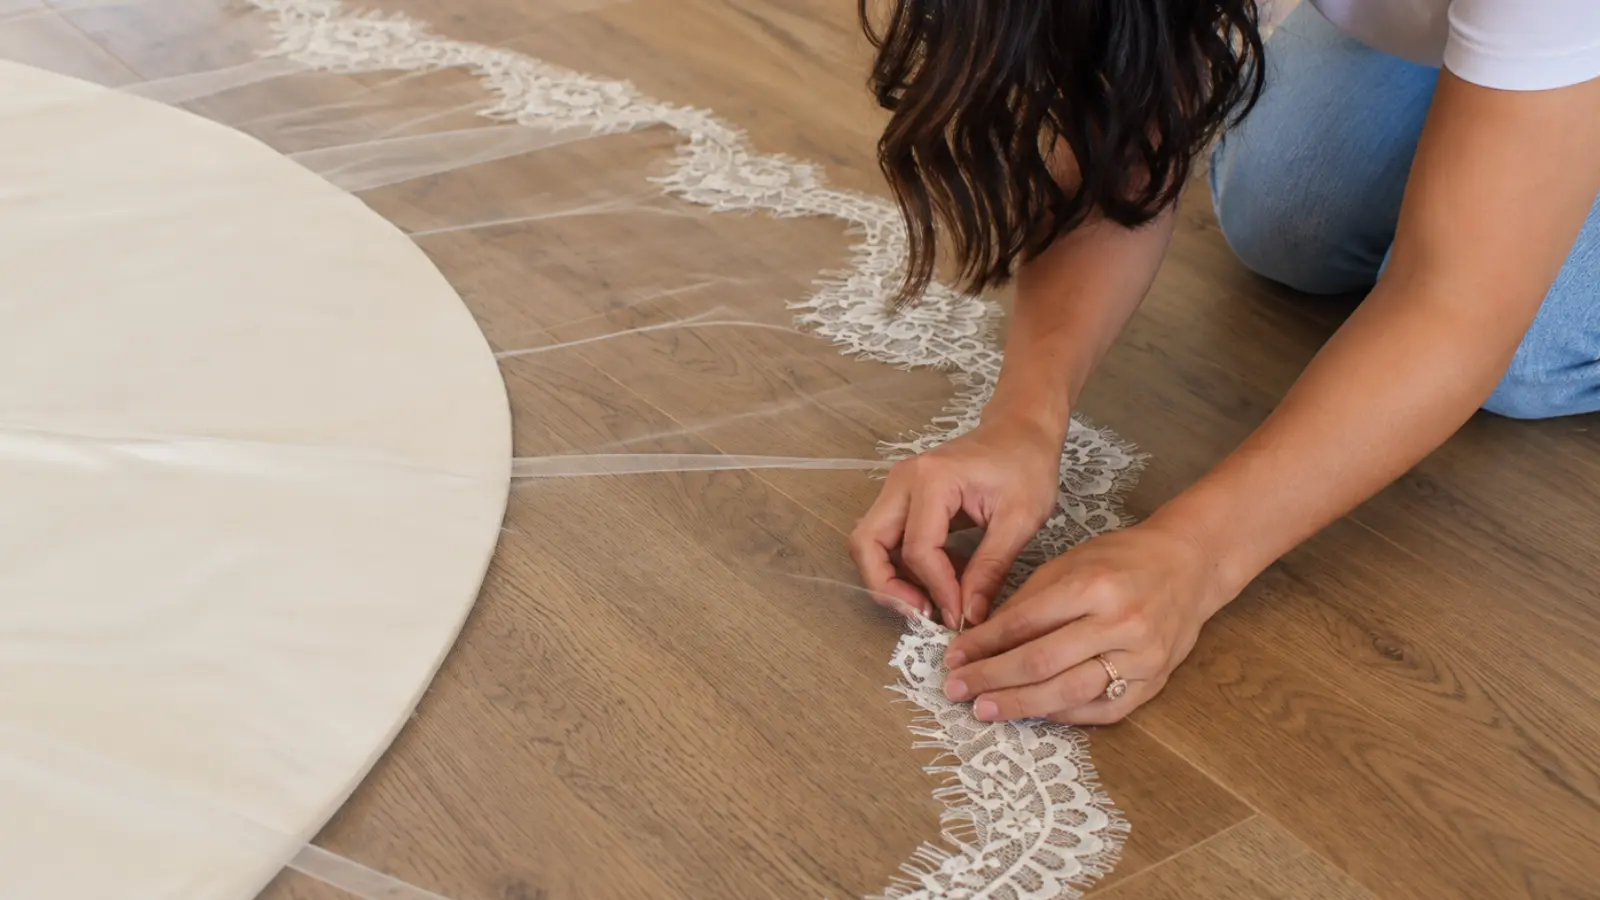
The edge treatment is one of the most visible elements of any veil, in person and in photographs. For a DIY veil, there are a few realistic options, each with its own character and skill requirement.
Raw Edge
A raw edge means no finishing at all — the tulle is simply cut, and the cut edge is left as-is. Because bridal illusion tulle doesn’t fray, a clean raw edge can be entirely intentional. It reads as slightly more casual and modern than a finished edge, and it’s the most achievable finish for a first DIY attempt. The result is a clean, simple edge that’s particularly well-suited to minimalist or contemporary bridal looks.
Rolled Edge
A rolled hem involves folding and stitching a very small amount of the edge under, creating a smooth, rounded border along the veil’s perimeter. Done on a sewing machine with a rolled hem foot, this is faster and more consistent than doing it by hand. Done by hand, it’s time-consuming across a full veil length but produces a softer, more delicate edge than a raw cut. A rolled edge reads as more traditional and polished than a raw edge, and it works well with most veil styles.
Ribbon or Satin Edge
A narrow ribbon or satin trim applied along the edge creates a clean, slightly structured border. This is typically machine-sewn or applied with fabric glue for smaller sections. It adds a small amount of weight to the edge, which affects how the veil hangs, and it photographs well even in close-up images. This is a good intermediate option for brides who want a defined edge without the complexity of lace.
How to Attach the Comb
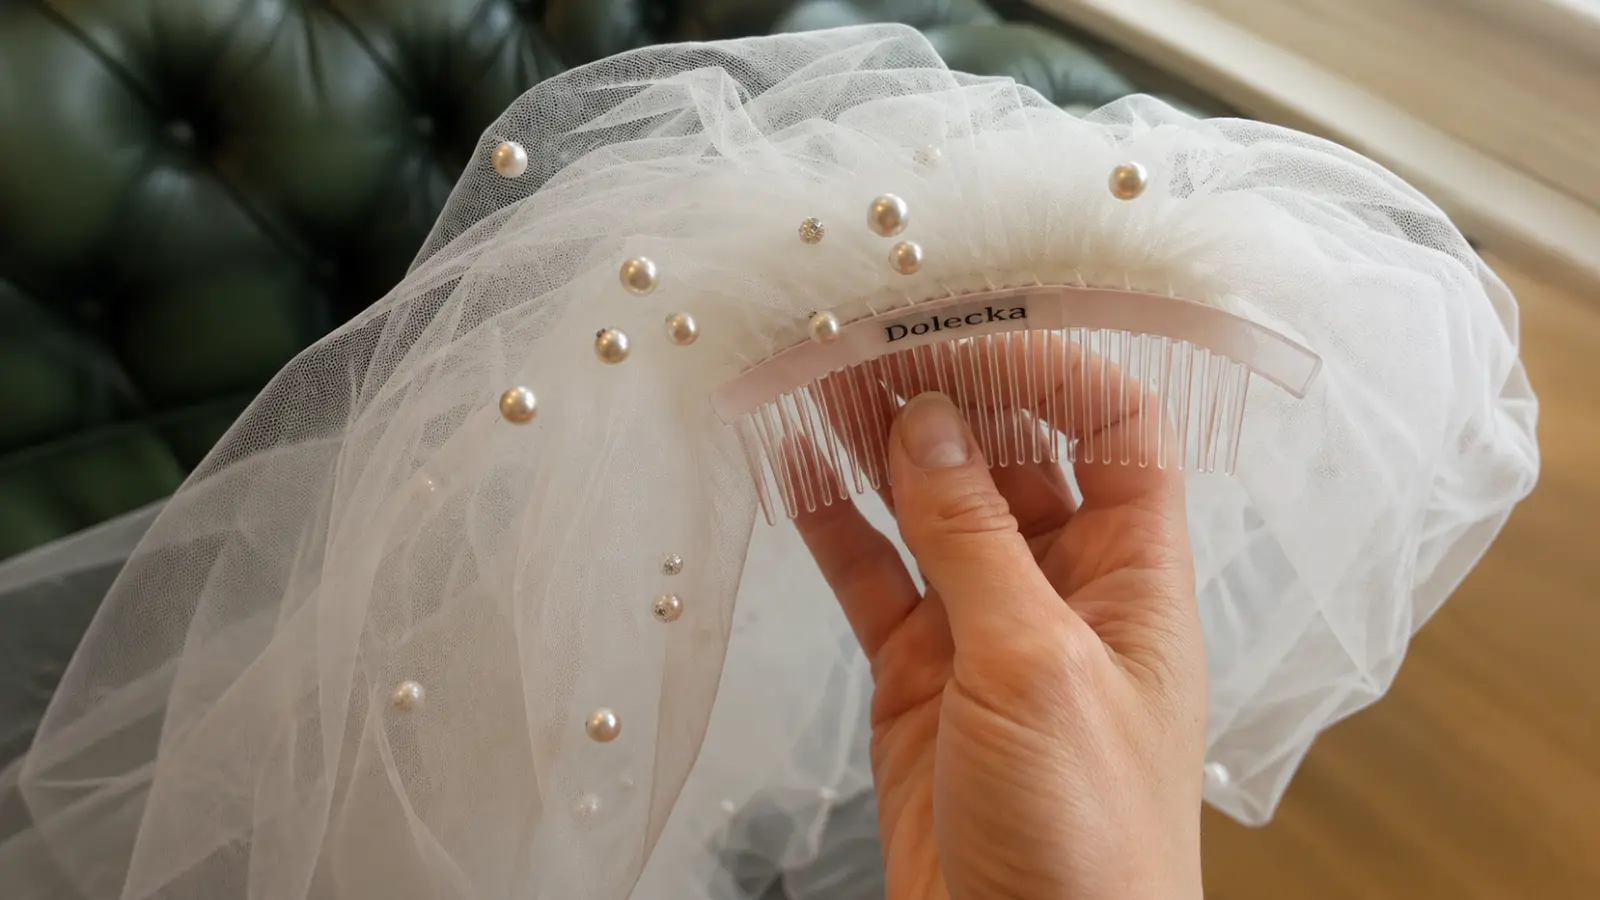
Comb attachment is the step that determines whether the veil holds throughout the day or starts to slide after the first hour. Understanding how to wear a wedding veil securely also helps you see why the comb attachment needs careful attention and a proper practice run before the wedding.
Start by gathering the top edge of the cut tulle into a concentrated section roughly the width of the comb’s spine. The amount of gathering determines how full the veil appears when worn: more gathering creates a puffier, more traditional look; less gathering creates a flatter, more minimal drape. Secure the gathered section temporarily with a few pins so it holds its shape while you stitch.
Thread a needle with a double length of strong polyester or nylon thread, knotted at the end. Beginning at one end of the comb’s spine, pass the needle and thread through the gathered tulle and around the first tooth of the comb, pulling snug. Continue along the comb, wrapping the thread around each tooth and through the gathered fabric, until you reach the other end. Go back in the opposite direction to reinforce. Knot securely at both ends and trim the thread close to the knot.
Once attached, hold the veil by the comb and give the fabric a firm downward pull. The comb should not shift, and the thread should not loosen. If it does, reinforce the attachment before calling it done. A veil that works loose during the ceremony is a distraction you don’t want.
Adding a Lace Edge
Lace trim is the most common embellishment on DIY veils, and also the step where the most things can go wrong. The core challenge is that you’re attaching a relatively structured fabric — lace — to a very delicate and shift-prone one — tulle — across the full perimeter of the veil, which can run ten feet or more depending on the length.
A few things make this more manageable. First, choose a lace trim with a flat, non-scalloped base edge if you’re new to this. Scalloped lace looks beautiful but requires careful placement so the pattern aligns at the corners and the points fall evenly. A straight-edge trim is easier to align and attach consistently. Second, pin the lace to the tulle before sewing rather than trying to guide both layers through the machine simultaneously. Third, use a fine needle and a slow machine speed to avoid pulling or distorting the tulle as the lace goes down.
For brides planning a lace veil who don’t have machine sewing experience, this is an honest moment to reconsider. A lace-trimmed veil made by someone without the right technique can look visibly imprecise, and the technical gap between a well-executed lace edge and a poorly executed one is significant in close-up photographs. If lace is the look you want but hand-sewing or machine work isn’t realistic, see our lace wedding veil for more on what to look for when buying.
What to Avoid
Most DIY veil problems are predictable once you know where they come from. These are the ones that come up consistently.
- Using the wrong scissors. Craft scissors, kitchen scissors, or any scissors that aren’t specifically sharp fabric scissors will drag the tulle rather than cut it cleanly. The resulting edge is uneven and difficult to fix after the fact. Invest in a pair of fabric scissors and keep them exclusively for fabric.
- Skipping a test run. Before cutting your good tulle, cut a small piece of the same fabric and practice gathering and attaching it to a comb. This step takes twenty minutes and prevents the most common errors — uneven gathering, loose thread, imprecise comb placement — from happening on the real thing.
- Underestimating how much fabric you need. Buying exactly the right amount of tulle leaves no room for cutting errors. Buy 10 to 15 percent more than your calculated yardage so you have material to work with if the first cut isn’t right, or if the gathering at the comb requires more fabric than expected.
- Choosing a style beyond your skill level. The difficulty table in this article exists for a reason. A bride who has never sewn before and decides to make a cathedral veil with lace appliqué two weeks before her wedding is almost certain to be unhappy with the result. Match the style to your honest skill level, not to your aspirational one.
- Making the veil too close to the wedding. A DIY veil should be finished at least three to four weeks before the wedding so there is time for a hair trial with the actual veil, adjustments if anything needs to be redone, and storage in a safe location where it won’t get damaged. Finishing the veil the week of the wedding eliminates all of that margin.
- Not testing the comb attachment under realistic conditions. Once the veil is assembled, insert the comb into your hair (or a willing friend’s hair) and wear it for thirty minutes while moving normally. Walk, sit, turn your head. If the comb shifts or the veil pulls, reinforce the attachment before the wedding day.
Every one of these is avoidable with a little lead time and realistic self-assessment. The brides who are happiest with their DIY veils are the ones who matched the style to their skill, tested before committing, and gave themselves enough time to fix what needed fixing.
DIY Wedding Veil Inspiration
Discover beautiful DIY wedding veil inspiration featuring elegant handmade veils, minimalist tulle designs, lace-edged styles, classic bridal veils, and timeless finishing details. Explore creative ideas, fabric options, and simple techniques to create a personalized wedding veil that perfectly complements your bridal look.
Should You Make Your Own Wedding Veil?
Making your own wedding veil can be one of the most meaningful bridal DIY projects when you choose a design that matches your experience and available time. Simple raw-edge or rolled-edge veils are surprisingly achievable for beginners, while more intricate lace designs often require advanced sewing skills and careful craftsmanship.
The most successful DIY veils begin with realistic expectations and thoughtful planning. By selecting the right materials, practicing the techniques before cutting your final fabric, and allowing plenty of time before the wedding, you can create a beautiful veil that reflects your personal style and becomes a memorable part of your bridal experience.
Frequently asked questions (FAQ)
Is it worth making your own wedding veil?
Making your own wedding veil is worth considering when you want a simple single-tier style, have enough time for a test run, and are comfortable with basic cutting and hand-sewing. It is less worthwhile when the design involves extensive lace, multiple layers, or technical draping that exceeds your experience.
Is it hard to make your own wedding veil?
A simple raw-edge or rolled-edge tulle veil is one of the more approachable DIY bridal projects. A beginner can realistically make an elbow or fingertip veil with basic tools. Difficulty increases significantly with lace trim, embellishments, blusher layers, and cathedral lengths.
What fabric should I use to make a wedding veil?
Bridal illusion tulle is generally the best material for a first DIY veil. It is affordable, widely available, easy to cut, holds its shape, and does not fray at a raw edge. Silk tulle creates a softer result but is more expensive and less forgiving to work with.
How much tulle do I need to make a wedding veil?
The amount depends on the finished length and number of layers. An elbow veil generally requires around 1 to 1.5 yards, while a fingertip veil often needs 1.5 to 2 yards. Cathedral styles require at least 3 yards and sometimes more. Buying an additional 10 to 15 percent provides room for cutting and gathering.
Do I need a sewing machine to make a wedding veil?
Not for a basic raw-edge veil. You can cut the tulle, gather the top, and attach it to a comb by hand. A sewing machine becomes useful for rolled hems, ribbon edges, lace trim, and other finishes that run around the entire perimeter.
How do you attach a comb to a homemade veil?
Gather the upper edge of the tulle to approximately the width of the comb, then stitch the gathered fabric securely to the comb’s spine with strong polyester or nylon thread. Reinforce the stitches in both directions and test the attachment with a firm pull before wearing it.
How long does it take to make a wedding veil?
A simple raw-edge veil may take only one or two hours once the fabric has been measured and prepared. More detailed styles can take several hours or multiple sessions. The finished veil should be completed at least three to four weeks before the wedding so there is time for a hair trial and any necessary corrections.