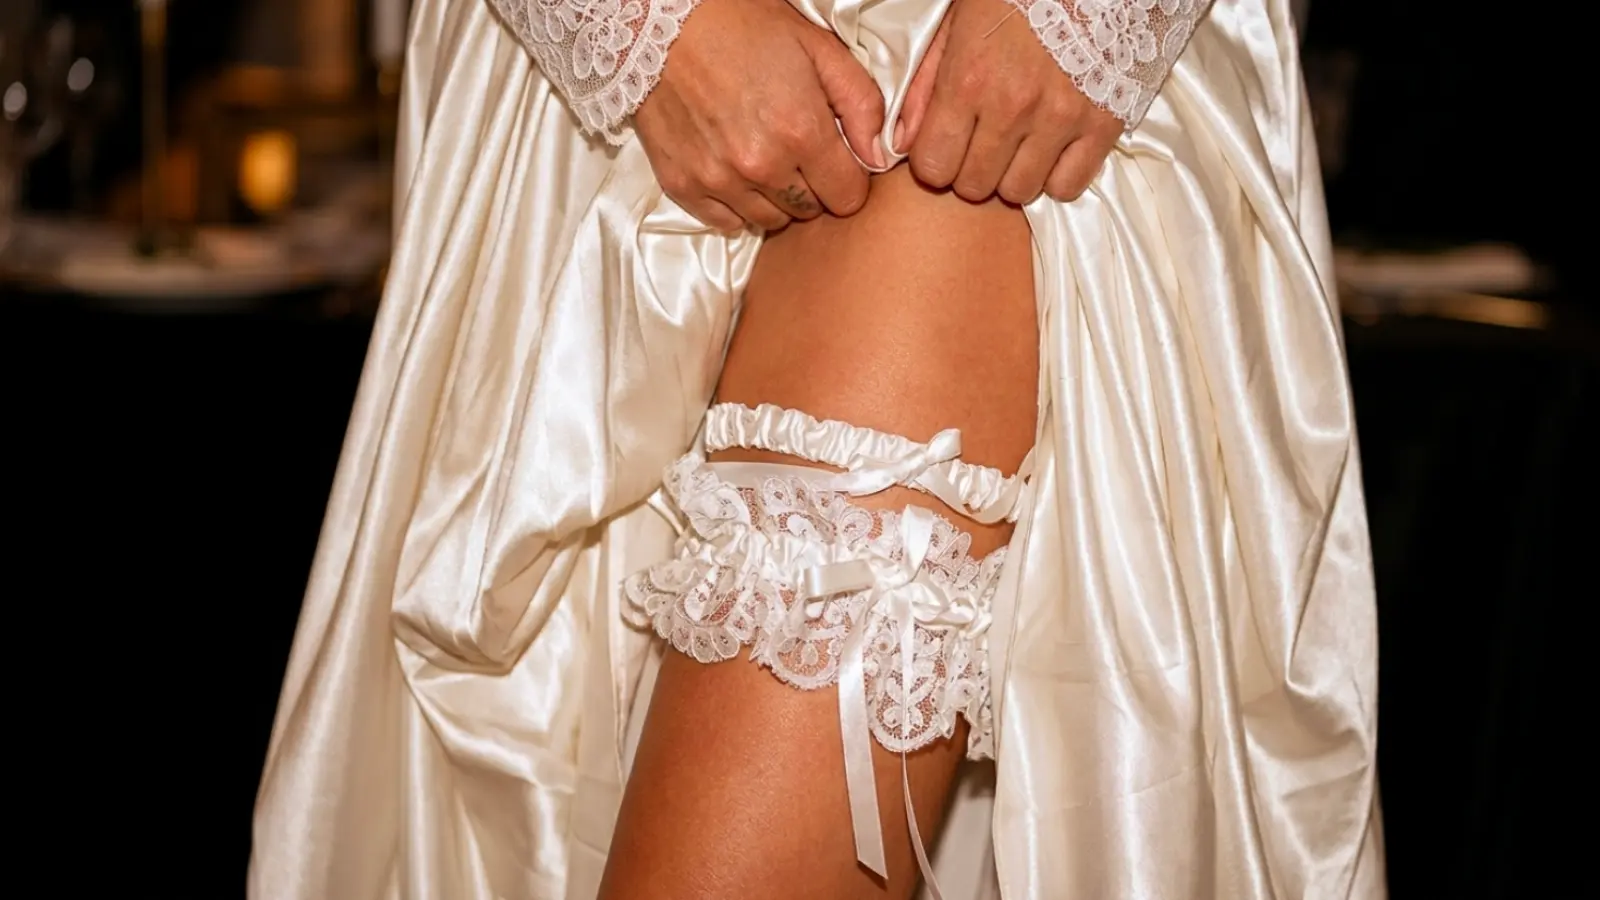
A DIY wedding garter is one of the more approachable bridal accessories to make yourself. With just a few basic materials, even beginners can create a beautiful garter that feels personal, meaningful, and made specifically for their wedding day.
Making your own wedding garter is not only about saving money. For many brides, it is an opportunity to create a personal version of a wedding garter with family lace, heirloom fabrics, hand embroidery, or other sentimental details that simply cannot be found in a ready made design. At the same time, it is worth knowing when a DIY project makes sense and when buying a professionally made garter is the more practical choice.
This guide explains how to make a DIY wedding garter step by step, including the materials you’ll need, measuring for the right fit, sewn and no-sew methods, personalization ideas, common mistakes to avoid, and when purchasing one may be the better option.
Materials You’ll Need for a DIY Wedding Garter
A DIY wedding garter doesn’t require many supplies, which is one of the reasons it’s such a beginner-friendly project. Most of the materials are inexpensive and easy to work with, and many brides already have some of them at home. Starting with comfortable elastic and quality lace will have a much bigger impact on the finished garter than adding extra decorative details later.
- Elastic: 1 to 2 inches wide, enough to wrap around the thigh with a little overlap. Wider elastic is usually more comfortable for all-day wear than narrow bands.
- Stretch lace trim: Wide enough to cover the elastic band in the color and style you prefer.
- Ribbon: Satin or grosgrain ribbon for a bow or decorative accent.
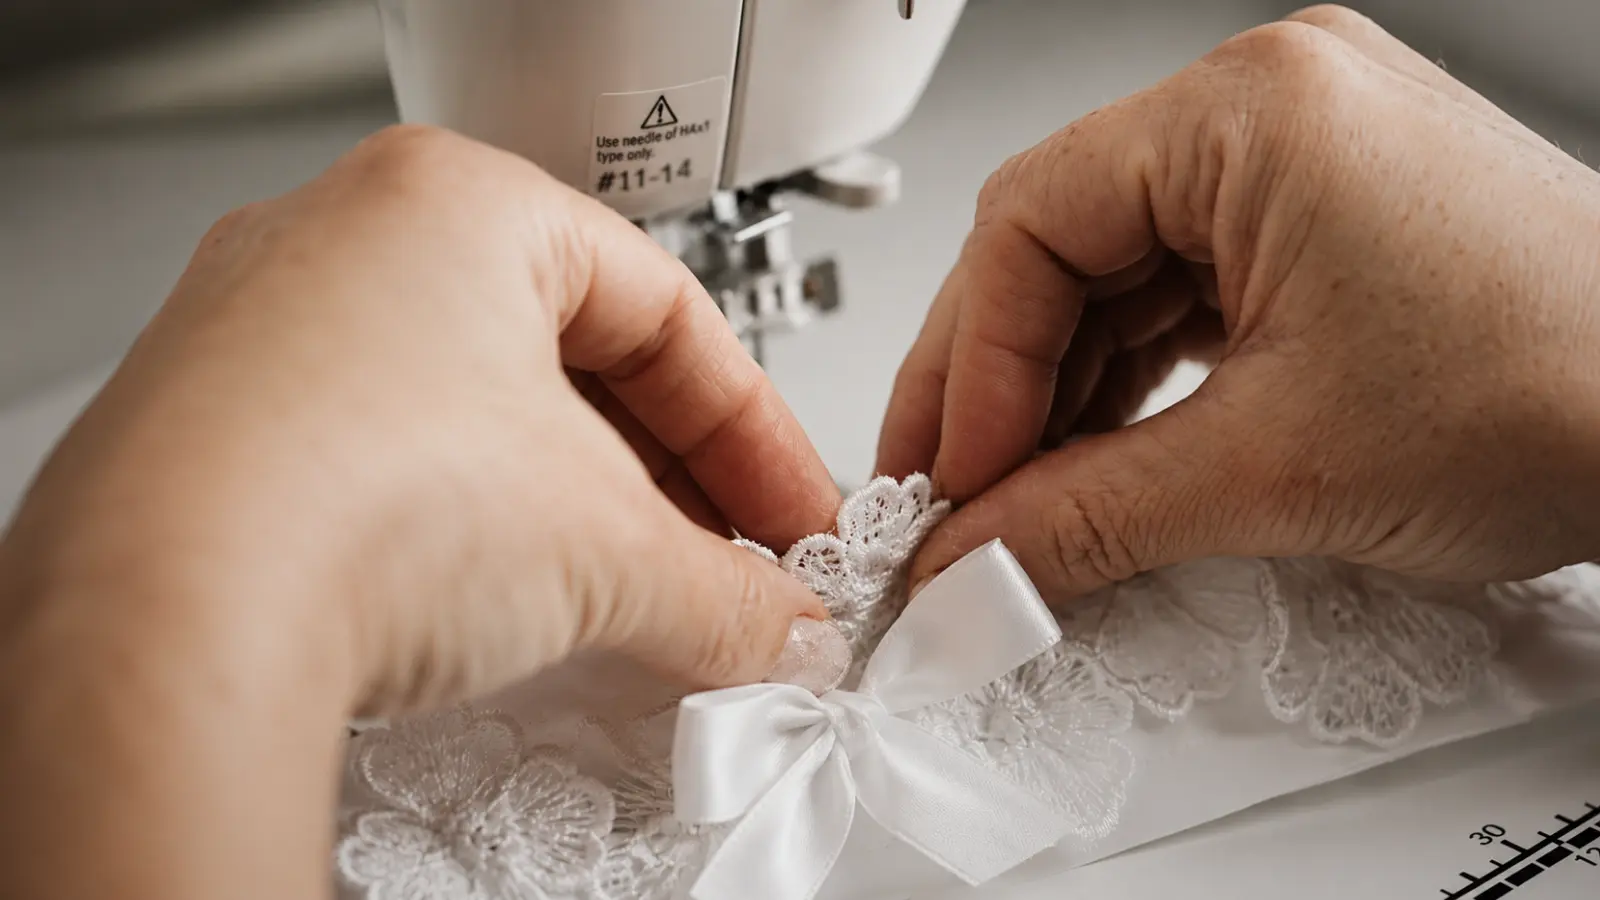
- Thread and needle (or a sewing machine): A machine makes the process faster, but hand stitching works perfectly well for a project this size.
- Soft measuring tape: For taking an accurate thigh measurement before cutting the elastic.
- Fabric glue (optional): Useful for a no-sew version or for attaching small embellishments.
- Optional embellishments: Pearls, charms, buttons, embroidery, or a small piece of sentimental lace or fabric from a family member’s wedding dress.
Once you have everything ready, the next step is taking an accurate thigh measurement. This single measurement has the biggest impact on how comfortable and secure the finished garter will feel.
Measuring the Thigh First
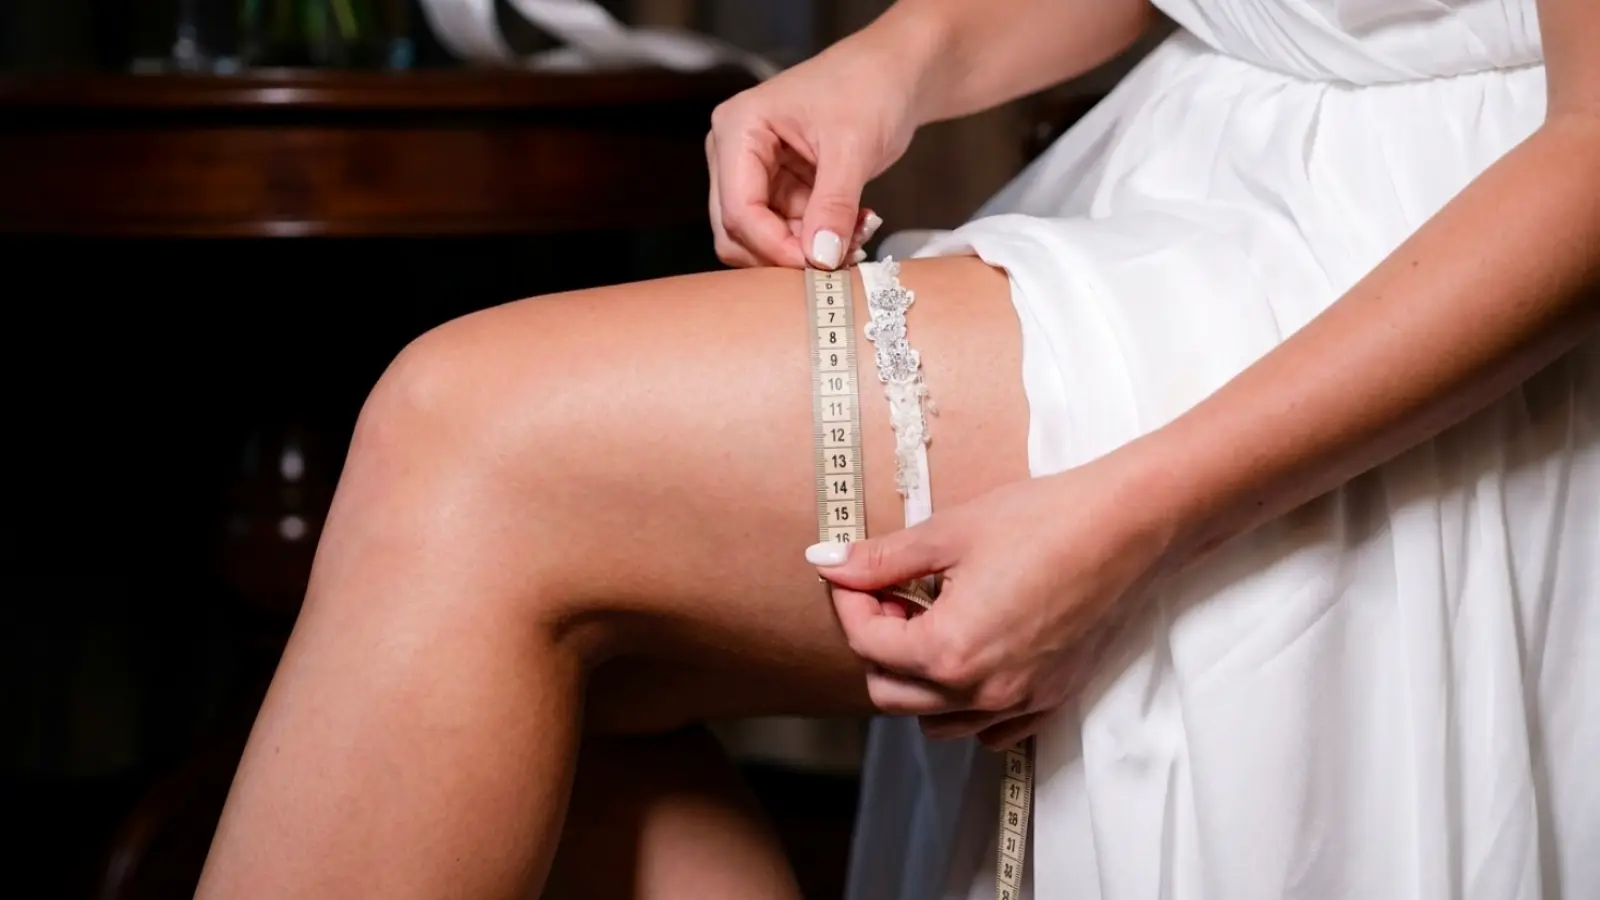
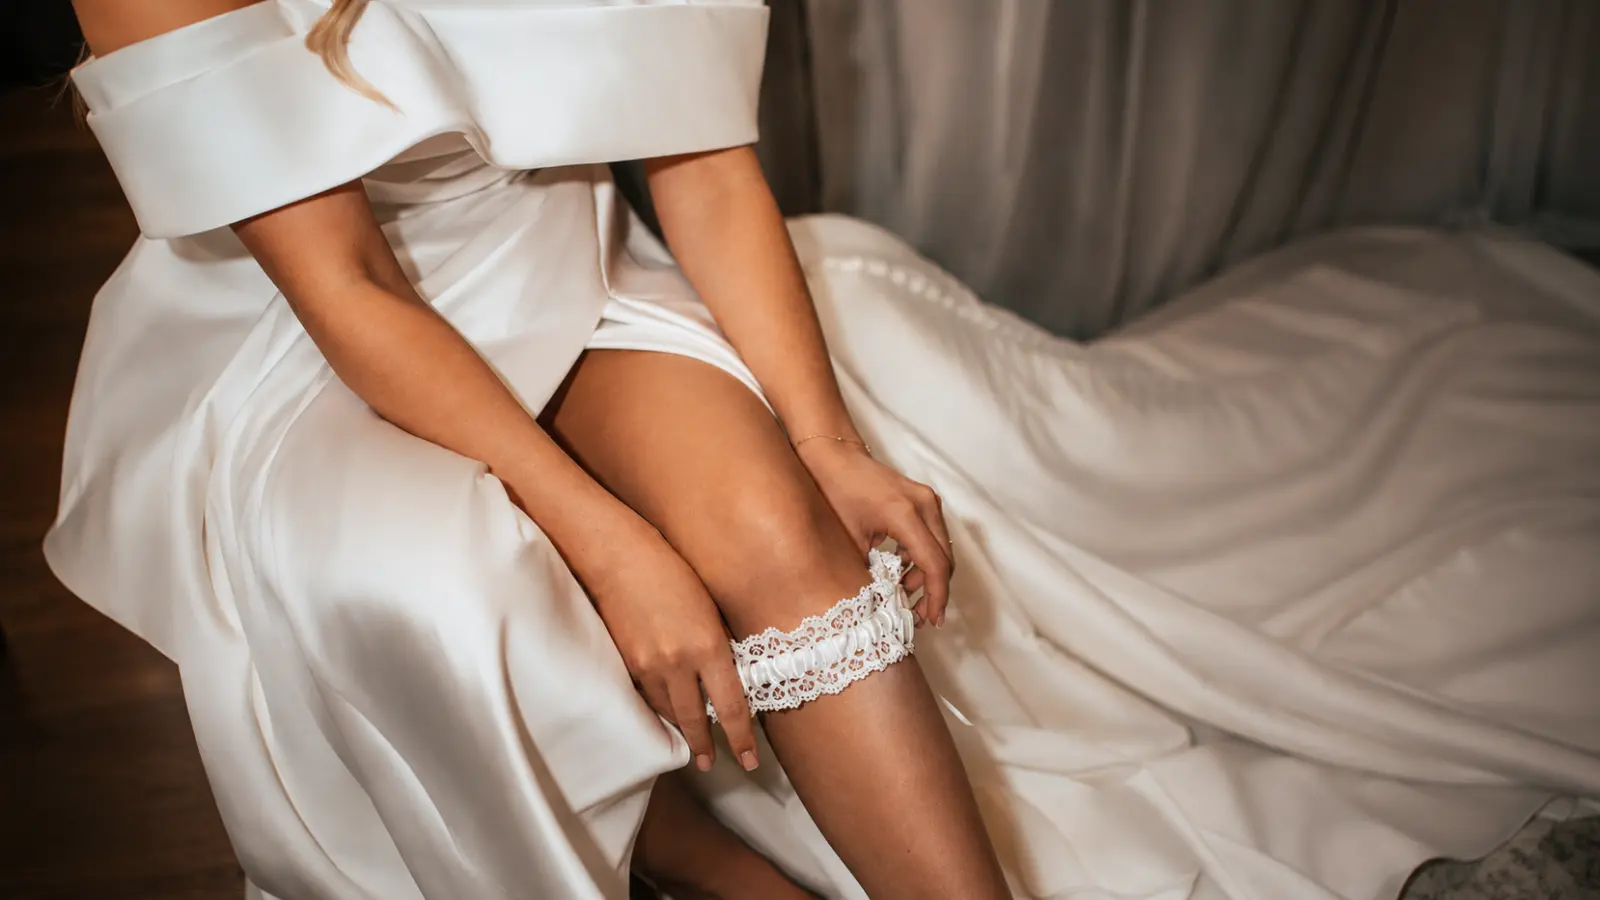
Before cutting anything, measure around the thigh at the spot the garter will actually be worn, typically four to six inches above the knee, which is also the standard placement for how to wear a wedding garter comfortably. This measurement is one of the most important parts of the entire project, especially when making a plus size wedding garter, since a garter that’s the wrong size won’t feel good no matter how nicely it’s decorated.
Cut the elastic about an inch shorter than the measurement, to account for the stretch and the small overlap needed where the ends are joined. It’s worth test-wrapping the elastic around the thigh before doing any final stitching, just to confirm the fit feels right rather than finding out after everything is sewn together.
Step-by-Step: Sewn Garter
- Cut the elastic to the measured length, about an inch shorter than the thigh measurement.
- Overlap the two ends of the elastic by about half an inch and stitch them together firmly, sewing back and forth a few times so the seam holds up under stretching.
- Cut the lace trim long enough to wrap around the full elastic band, plus a little extra for a clean finish at the seam.
- Wrap the lace around the elastic, overlapping the edges slightly, and pin it in place before stitching.
- Stitch the lace to the elastic along both edges, sewing slowly so the elastic doesn’t bunch or twist as it goes through.
- Cut and prepare the ribbon for the bow, leaving enough length to tie a full bow with tails if that’s the look you want.
- Attach the bow to the front of the garter with a few small stitches through the knot, securing it firmly so it won’t shift during wear.
- Add any embellishment, a charm, pearl, or button, stitched or glued to the center of the bow.
- Try it on to confirm the fit and finish before considering it done. Adjust the seam if it’s too loose or too tight.
Step-by-Step: No-Sew Garter
For anyone without a sewing machine, without much hand-stitching experience, or simply short on time, a no-sew version works perfectly well for a piece that doesn’t need to hold up to heavy daily wear.
- Cut the elastic to the measured length, the same as the sewn version.
- Join the ends using fabric glue instead of stitching, holding firmly until set, or use a small strip of fusible fabric tape applied with an iron if available.
- Glue the lace trim around the elastic band, working in small sections and pressing firmly so it adheres evenly without bunching.
- Tie or glue the ribbon bow onto the front of the garter once the lace has fully set.
- Add any embellishment with fabric glue, holding it in place until fully dry.
- Let everything cure for the full time recommended on the glue packaging before wearing or trying it on, rushing this step is the most common reason a no-sew piece comes apart.
A no-sew garter is a reasonable option for a toss garter specifically, since it’s worn briefly and doesn’t need the same durability as a piece meant to be kept and handled for years.
Personalizing It
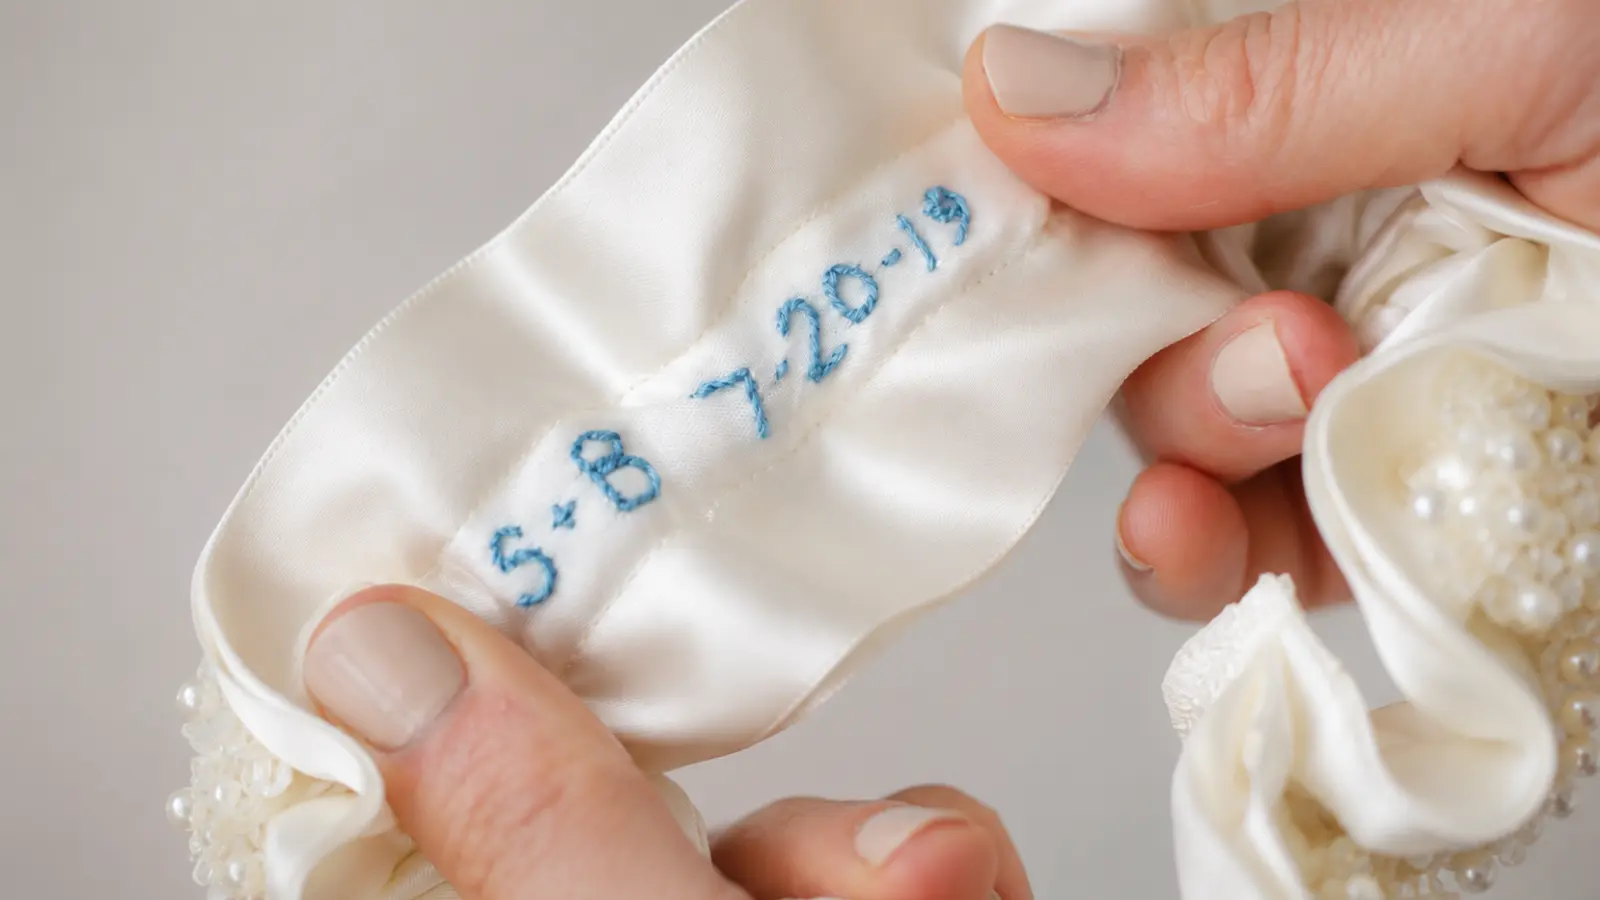
A handmade garter is at its best when it carries something the bride couldn’t simply buy. A few ways to add that detail:
- A swatch of lace from a family member’s dress, a mother’s or grandmother’s wedding gown, sewn into the design as a quiet way to connect generations.
- A hand-embroidered detail, initials, a wedding date, or a short phrase, stitched in thread that matches or contrasts with the lace.
- A small charm or heirloom piece attached to the bow, like a button from a grandfather’s shirt or a small pendant with meaning.
- A specific color chosen for personal reasons rather than tradition, whether from your favorite shade, your wedding garter colors, your wedding palette, or a color that belonged to someone meaningful.
None of these require advanced skill, they’re mostly about intention and a willingness to incorporate something with history rather than starting from entirely new materials.
Adding Something Blue
A DIY garter is a natural place to fulfill the “something blue” tradition, since the color and detail are entirely up to the maker. A blue ribbon bow, blue thread used for embroidery, or a layer of blue lace underneath a white or ivory top layer are all simple ways to work the color in without it needing to be visible once the garter is worn. For more on the tradition itself and other ways to carry “something blue,” the blue wedding garter guide covers the full history and a range of ideas beyond the garter alone.
Common Mistakes
Cutting the elastic without testing the fit first. A garter that’s too tight or too loose can’t be fixed easily once it’s fully sewn together. Test-wrap before committing to the final seam.
Using elastic that’s too narrow. A thin elastic band is harder to sew evenly and less comfortable for all-day wear than a wider one.
Rushing the final seam. A weak or hurried stitch at the elastic join is the most common point of failure, since that seam takes the most stress from stretching and movement.
Skipping a test-wear before the wedding. Trying the finished garter on once, briefly, isn’t the same as wearing it for an hour while sitting and moving around. Test it under conditions closer to the actual day.
Starting too close to the wedding date. A rushed project leaves no room to fix a mistake or redo a step that didn’t turn out well. Starting a few weeks ahead, rather than the week of, gives enough buffer for a second attempt if needed.
Gluing instead of sewing a piece meant to last. A no-sew approach is fine for a quick or disposable garter, but a keepsake piece meant to be kept for years generally holds up better when it’s actually stitched.
When Buying One Is the Better Choice
It’s worth being honest here: DIY isn’t always the right call, and that’s perfectly fine. If sewing isn’t a skill already in hand, if there’s limited time before the wedding, or if the priority is precise comfort and fit rather than the process of making something by hand, a ready-made garter from someone experienced in construction and sizing is often the more reliable option.
A well-made, ready-made garter tends to have more consistent elastic quality, more accurate sizing, and a more durable seam than a first attempt at sewing, simply because it’s been made many times before. DIY makes the most sense when the process itself matters, or when there’s a specific sentimental element, family lace, an heirloom detail, that’s worth the extra effort to incorporate by hand. If neither of those is true, there’s no obligation to make one rather than buy one. For guidance on what to look for in a ready-made option, including sizing, fabric, and fit, see the how to choose a wedding garter guide.
DIY Wedding Garter Ideas
Create a DIY wedding garter with simple materials, step-by-step instructions, lace, ribbon, and meaningful personal details. Explore sewn and no-sew ideas, handmade keepsakes, and creative ways to add something blue to your wedding day.
A Handmade Detail With Personal Meaning
A DIY wedding garter is more than a simple craft project. It is an opportunity to create a bridal accessory that reflects your story, whether through family lace, meaningful fabrics, hand embroidery, or a small detail that no one else will notice but you.
If making the garter feels like part of the experience you want to remember, the time and effort are often well worth it. And if you decide that buying a professionally made garter is the better choice, that is equally valid. The most meaningful wedding details are the ones that genuinely fit your celebration—not simply the ones you made yourself.
Frequently asked questions (FAQ)
Is a DIY wedding garter easy to make?
Yes. A DIY wedding garter is one of the simplest bridal sewing projects because it requires only a small amount of fabric, basic materials, and straightforward construction. Even beginners can make one successfully by measuring carefully, testing the fit before finishing, and keeping the design simple.
What materials do you need to make a DIY wedding garter?
Most DIY wedding garters require elastic, stretch lace, ribbon, thread, a needle or sewing machine, and a soft measuring tape. Optional materials include fabric glue for a no-sew version, decorative charms or pearls, embroidery, and sentimental fabric such as lace from a family member’s wedding dress.
Can you make a wedding garter without sewing?
Yes. A no-sew wedding garter can be made using fabric glue to attach lace to an elastic band and secure decorative details. While this method is faster and beginner-friendly, a sewn garter is usually more durable if you want to keep it as a long-term keepsake.
How do you measure for a DIY wedding garter?
Measure your thigh where the garter will actually be worn, usually four to six inches above the knee, using a soft measuring tape. Cut the elastic slightly shorter than the measurement to allow for stretch, then test the fit before permanently sewing or gluing the garter together.
What mistakes should you avoid when making a DIY wedding garter?
The most common mistakes are cutting the elastic before testing the fit, choosing elastic that is too narrow, rushing the final assembly, and waiting until the last minute to start the project. Giving yourself enough time to make adjustments is one of the easiest ways to achieve a better result.
Is it better to make or buy a wedding garter?
It depends on your priorities. Making your own wedding garter is ideal if you enjoy DIY projects or want to include meaningful materials such as heirloom lace or embroidery. Buying one is often the better choice if you want the most consistent fit, limited preparation time, or a professionally finished keepsake.